MANUALS FOR EXPERT TOOLS
Got a question that is not answered here? Then please don’t hesitate to contact us directly via email (info@auftriib.com) or Instagram DM (https://www.instagram.com/auftriib/)!
User Manual CRAMPLIFIER
IMPORTANT:
Training these steps at home is an absolute must – and crucial for making sure you return home safely. Losing a crampon is not an option.
1. Check left & right
The rubber tapes in the heel area indicate left and right.
Start with the according side of the crampon.
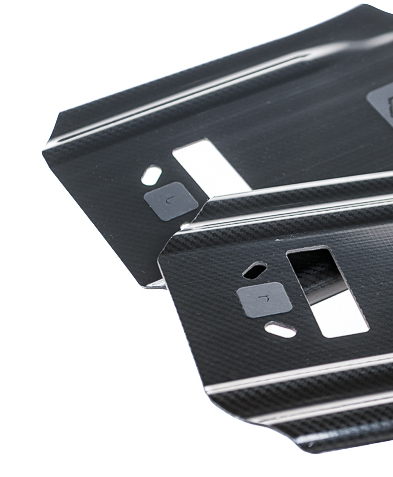
2. Pass through the heel bail
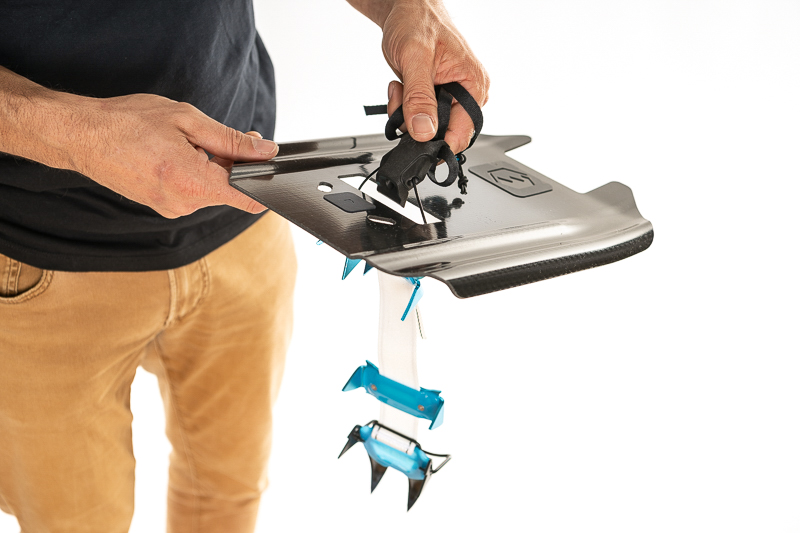
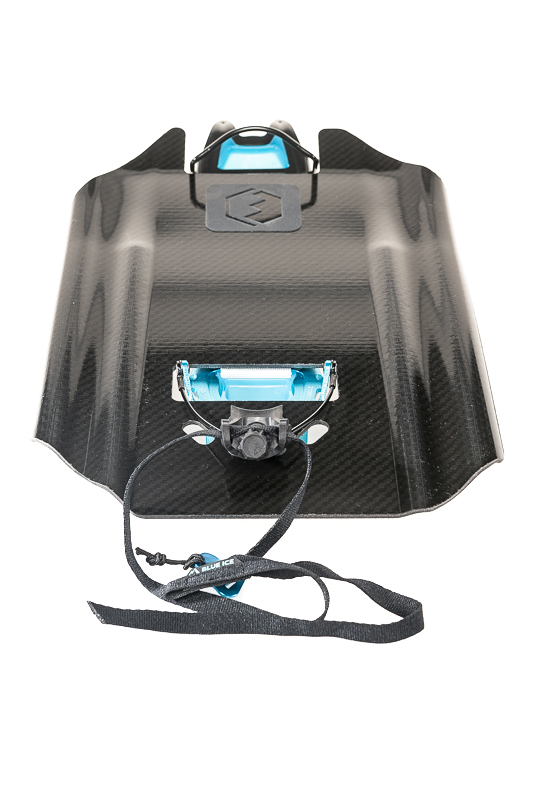
3. Mount
Step onto the plate and into the crampon’s toe bail/basket.
Make sure the plate is in a neutral position.
Close the heel bail. If you feel significantly more resistance, check the plate’s position again!
Secure your crampon’s binding as usual.
4. Check
Before you start your ascent, double-check the right position of the plates – and most importantly – of the crampon.
– Are the heel bail and front bail in the correct positions and sitting tightly?
– Is the plate in a neutral position between sole and crampon?
– The crampon’s front bail should be within the plate’s U-shape (between the two ‚noses‘).
Keep checking this regularly during your ascent, just like you should regularly check your crampons’ perfect fit.

5. Beware
Beware of the plates‘ slick surfaces!
You’ll appreciate them as they will let heavy snow slide off them when lifting your feet. At the same time, slipping can be a danger if you forget about this while traversing or descending.
6. Dismount
After dismounting, double-check the crampon’s perfect fit on your boot before heading into exposed terrain!
7. Maintenance
Fraying and dents in the plates‘ edges can be trimmed with a metal file.
User Manual SAUCER
IMPORTANT:
Training these steps at home is an absolute must – and crucial for making sure you return home safely.
Don’t risk slipping due to an improperly mounted plate!
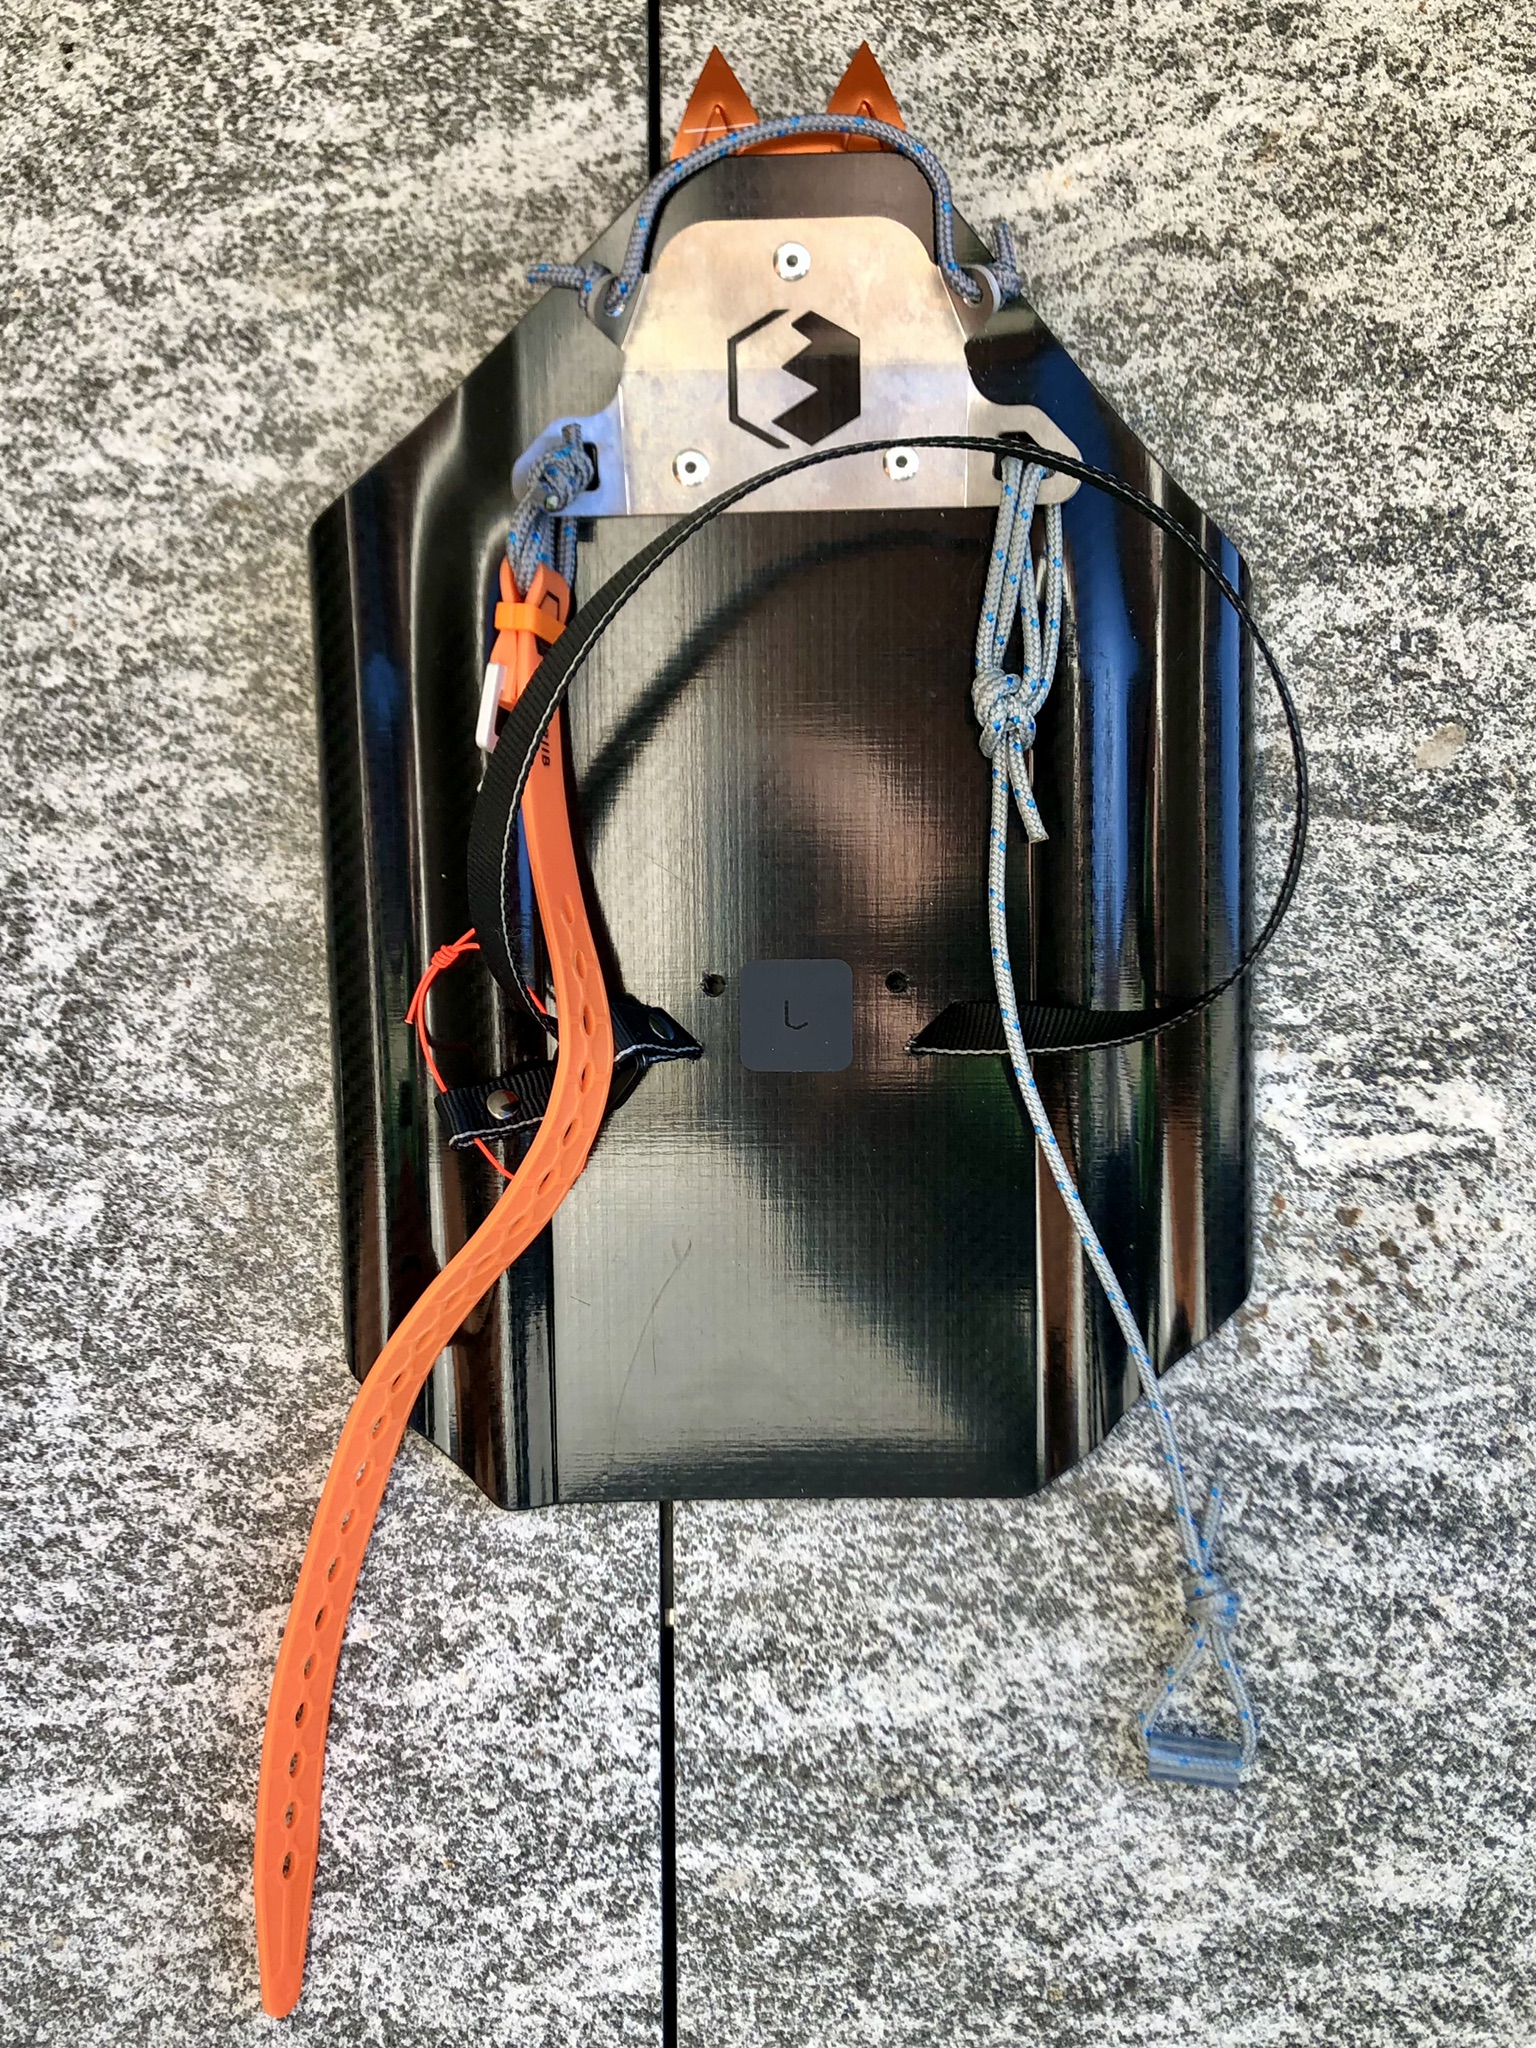
1. Check left & right
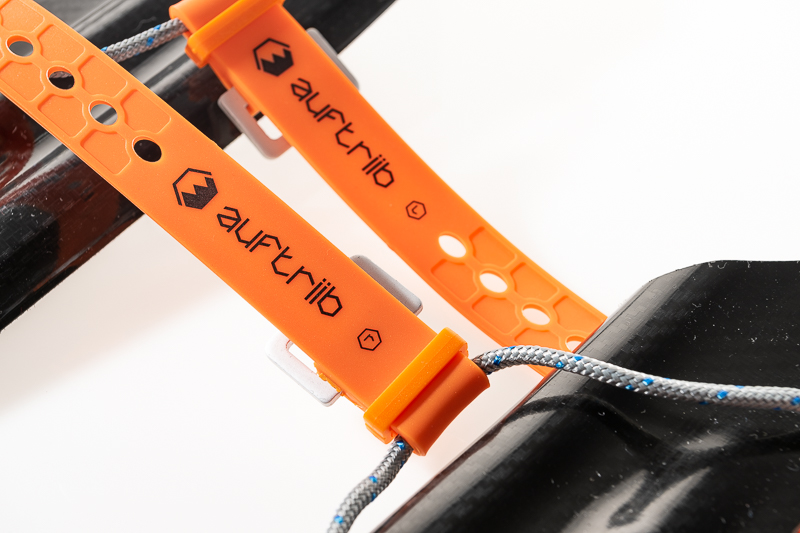
The ‘r’ and ‘l’ on the straps indicate left and right.
2. Prepare
Check if the length of the cord loops is correct.
Adjust if needed by changing the knots’ positions.
Make sure the cords are intact.
Replace cords if needed.
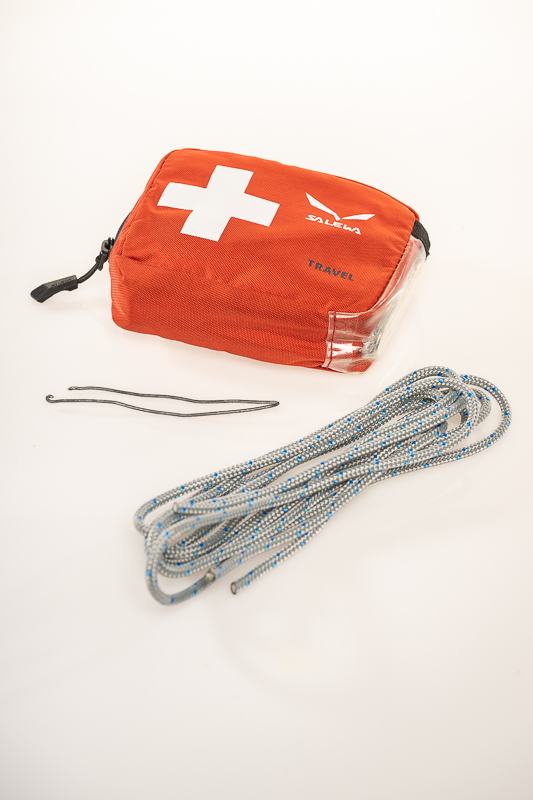
We recommend using a 4mm semi-static cord with a Dyneema core.
In case of unavoidable sharp crampon edges, protect the cords with PVC tubes (DIY or here).
(We recommend carrying a set of spare cords in your backpack’s emergency kit. They can also come in handy for threading an Abalakov sling.)
3. Mount
Mount the crampons onto your boots first.
The strap’s end goes across your boot’s instep, through the opposite cord loop, back across the instep and through the buckle.
Experiment with the ideal tension.
Unless you’re in a rage, you won’t rip the strap apart with one hand.
Their tensile strength is about 115kg…


4. Double-check
Before you start your ascent, double-check the right position of the plates.
Are the plates in the correct positions and sitting tightly?
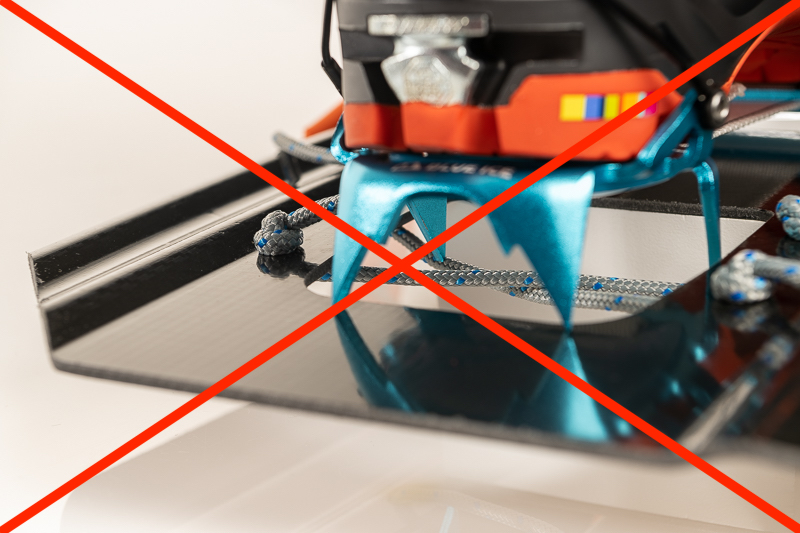
Is there no interference between crampon and plate or between crampon and cord that could either damage the material or – even worse – compromise the crampon’s ability to grip in snow or ice?
Keep checking this regularly during your ascent, just as you should regularly check your crampons’ perfect fit.
5. Beware
Beware of the plates‘ slick surfaces!
You’ll appreciate them as they will let heavy snow slide off them when lifting your feet. At the same time, slipping can be a danger if you forget about this while traversing or descending.
6. Dismount
After dismounting, double-check the crampon’s perfect fit on your boot before heading into exposed terrain!
7. Maintenance
Replace dyneema cord as soon as its sheath is worn.
Fraying and dents in the plates‘ edges can be trimmed with a metal file.
Manual for the replacement of SAUCER’s cords
(Additional help for the TUBE PROTECTION upgrade: DOWNLOAD PDF)
1. Remove worn cord
Cut and remove worn cord only on the first plate.
Use the second plate in the original state as a reference.
2. Insert new cord
Top to bottom.
The two ends should meet on the perpendicular bisector of the ‘U’ shape of the plate.
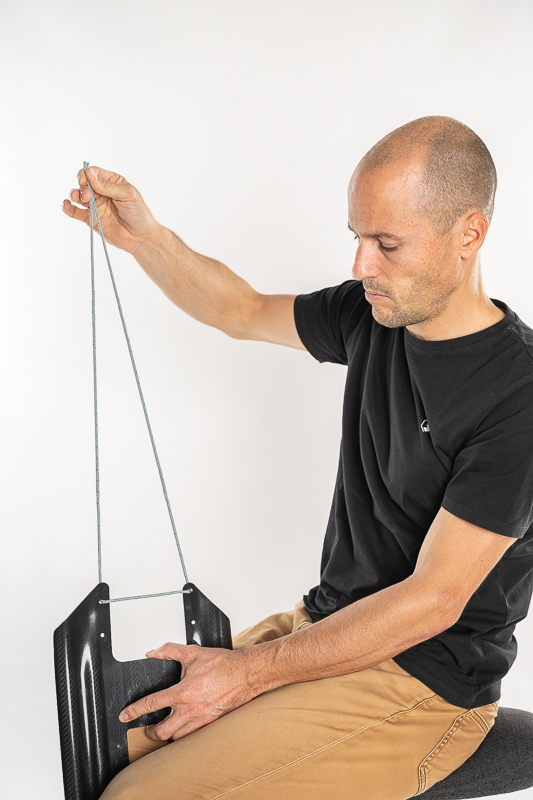
3. Traverse first side & tie it off
Tie the knot without pulling the cord into an uncentered position.
But keep it close to the plate.
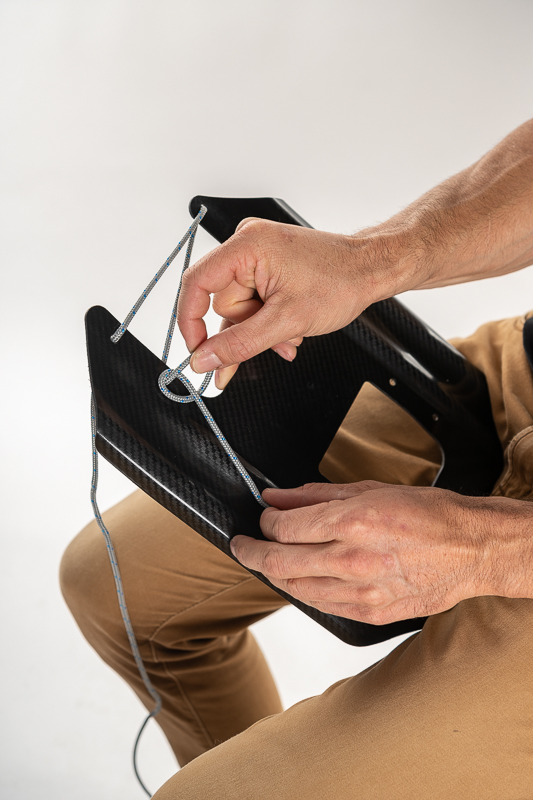
4. Prepare loose knot & thread end through plate
Don’t tighten this knot yet.
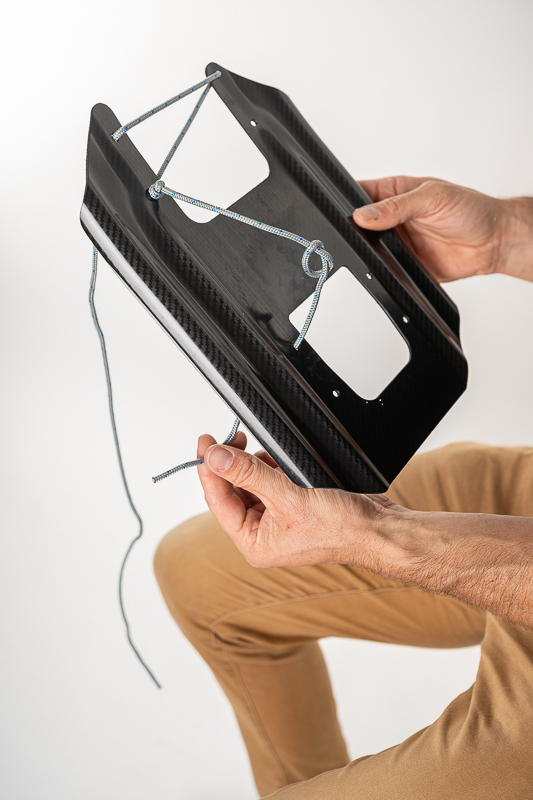
5. Tie off the other end – this one likes some tension!
Prepare the knot so that there is no slack cord left.
Hold the cord as close to the hole as possible.
Bend the plate with your enormous stomper-leg-press.
Pull in the according amount of cord and gently tie it off.
Let go your press. The plate should tighten the knot by flattening out again.
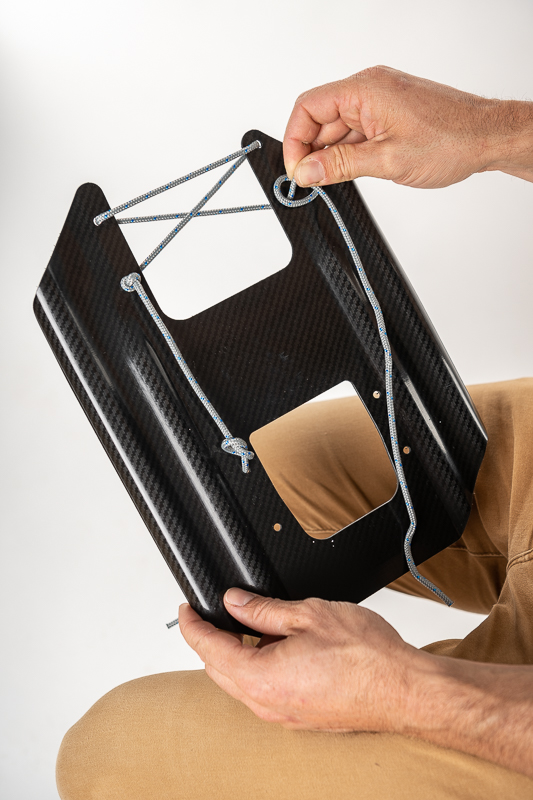
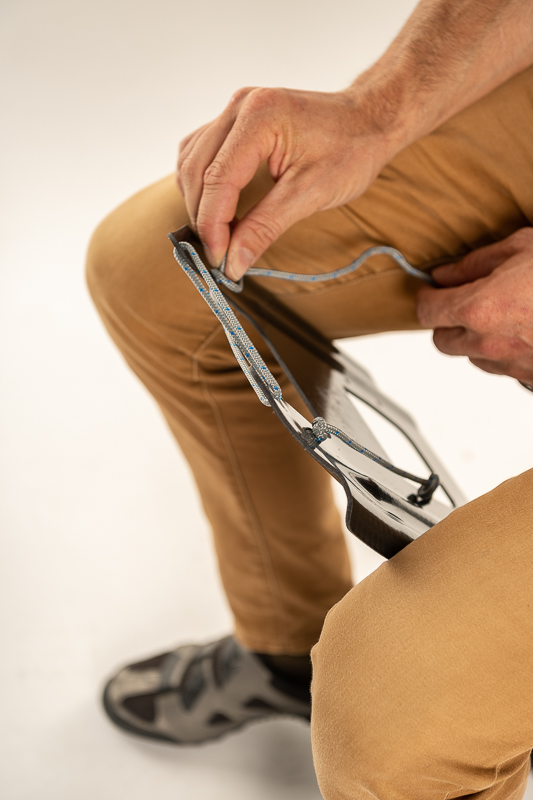
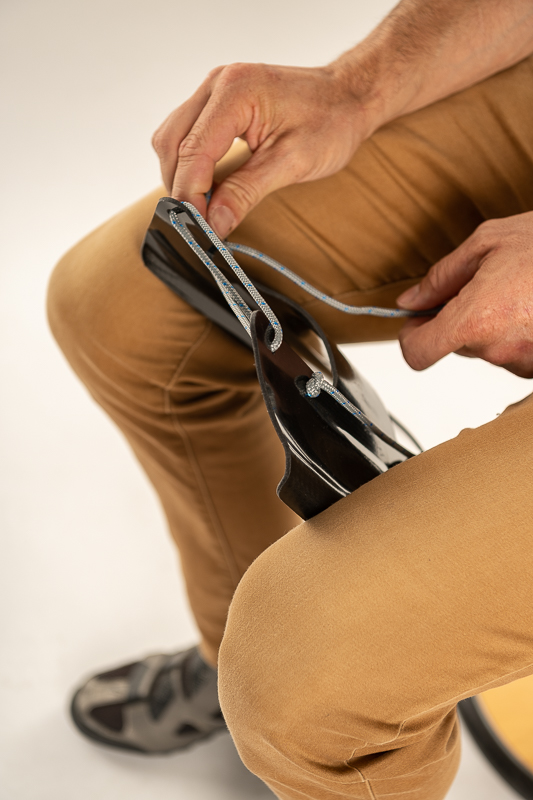
6. Repeat step 4 (lose knot)
Both ends should now be underneath the plate.
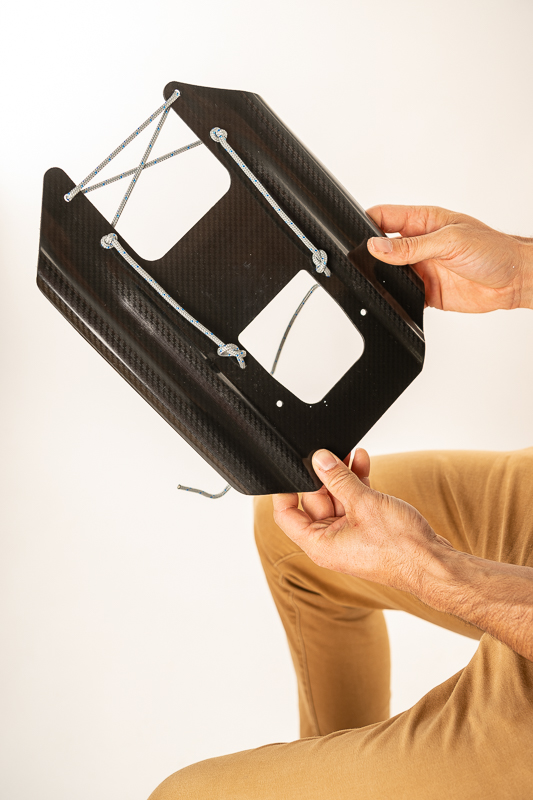
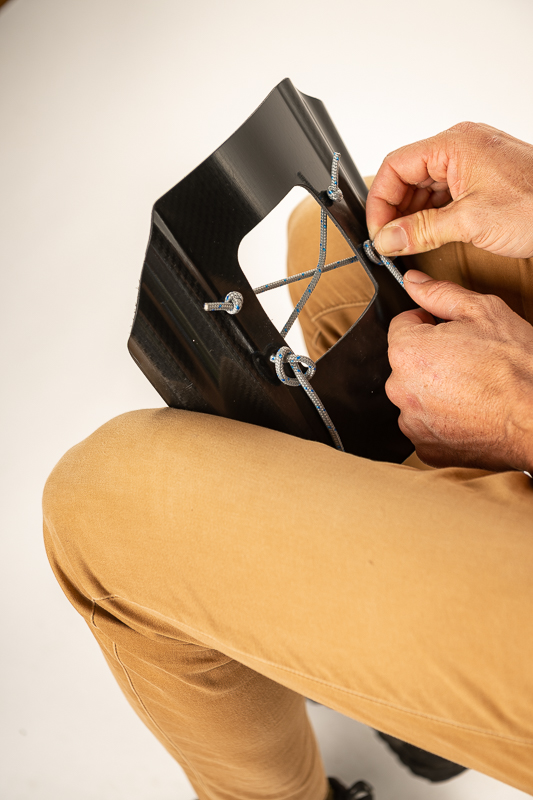
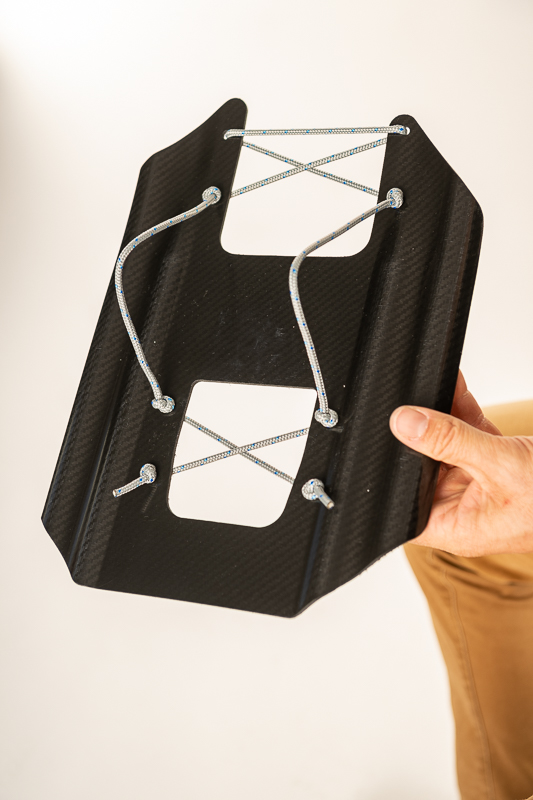
7. Cross over twice
Both ends should now be on the top side of the plate.
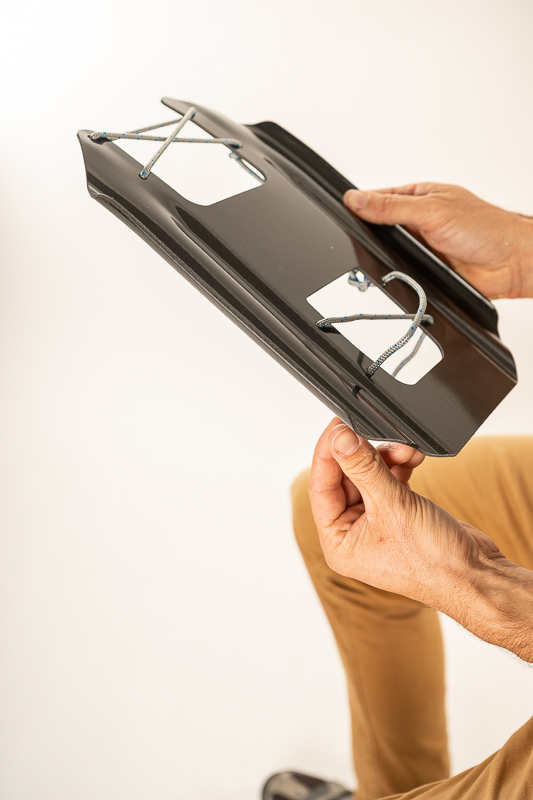
8. Tie off both ends & tighten
Leave about a thumb to an index finger’s width of cord behind the knots.
This is your margin to determine the two cord loops’ (bridges’) size.
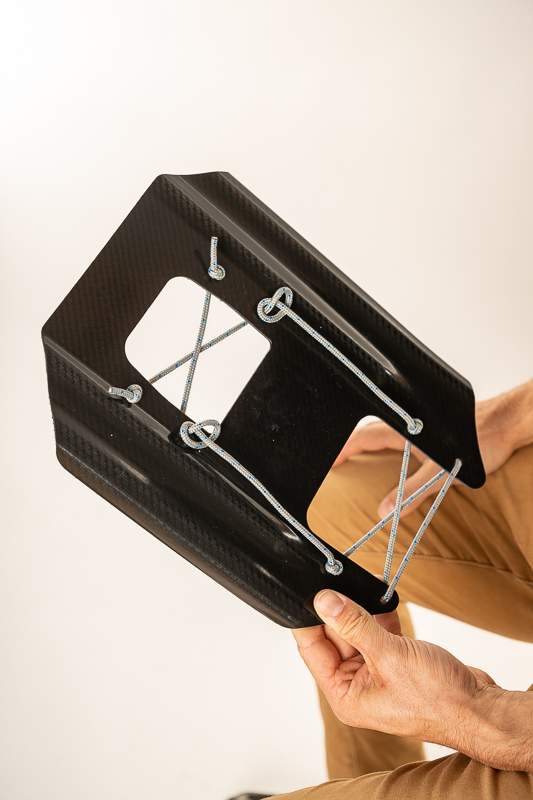
9. Tighten the remaining two knots – again under tension
Repeat the leg press trick of step 5.
Make sure the cords are neighter too tight (arching plate), nor loose.
For an average pair of ski boots, the cord loops should rise about 7cm from the plates when pulling on them.
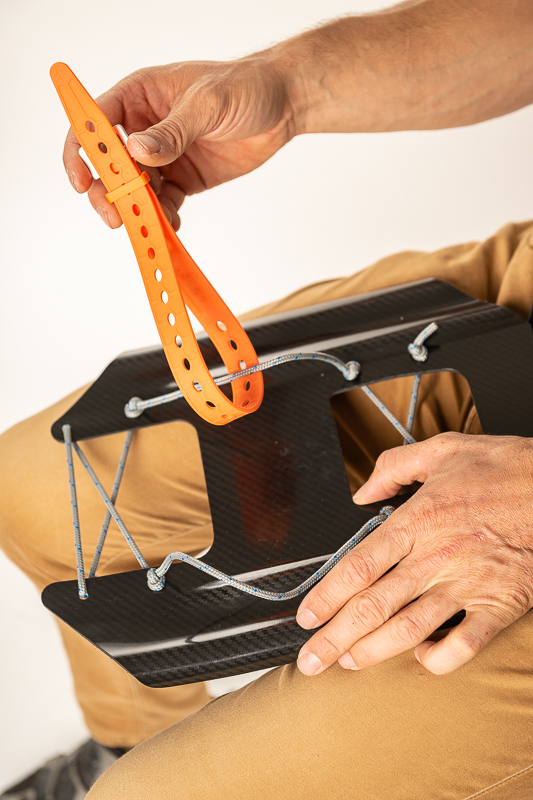
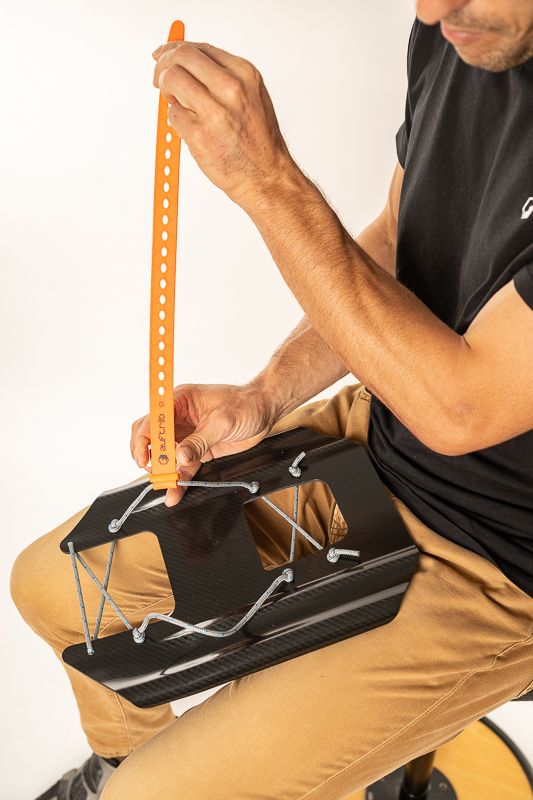
10. Mount the No-Heli-Strap
A small riddle to finish with – you’ll find out how to position the strap.
(If not, look at your other plate and mirror.)
IMPORTANT: Pull the strap tight – otherwise the Auftriib logo won’t be visible!
Et voilà, le fresh powder escalateur.
Manual for CRAMPOW
(for versions before January 2023, see video ‘getting started’ below)
1. Check left and right
See “L” and “r” in the grip tapes.
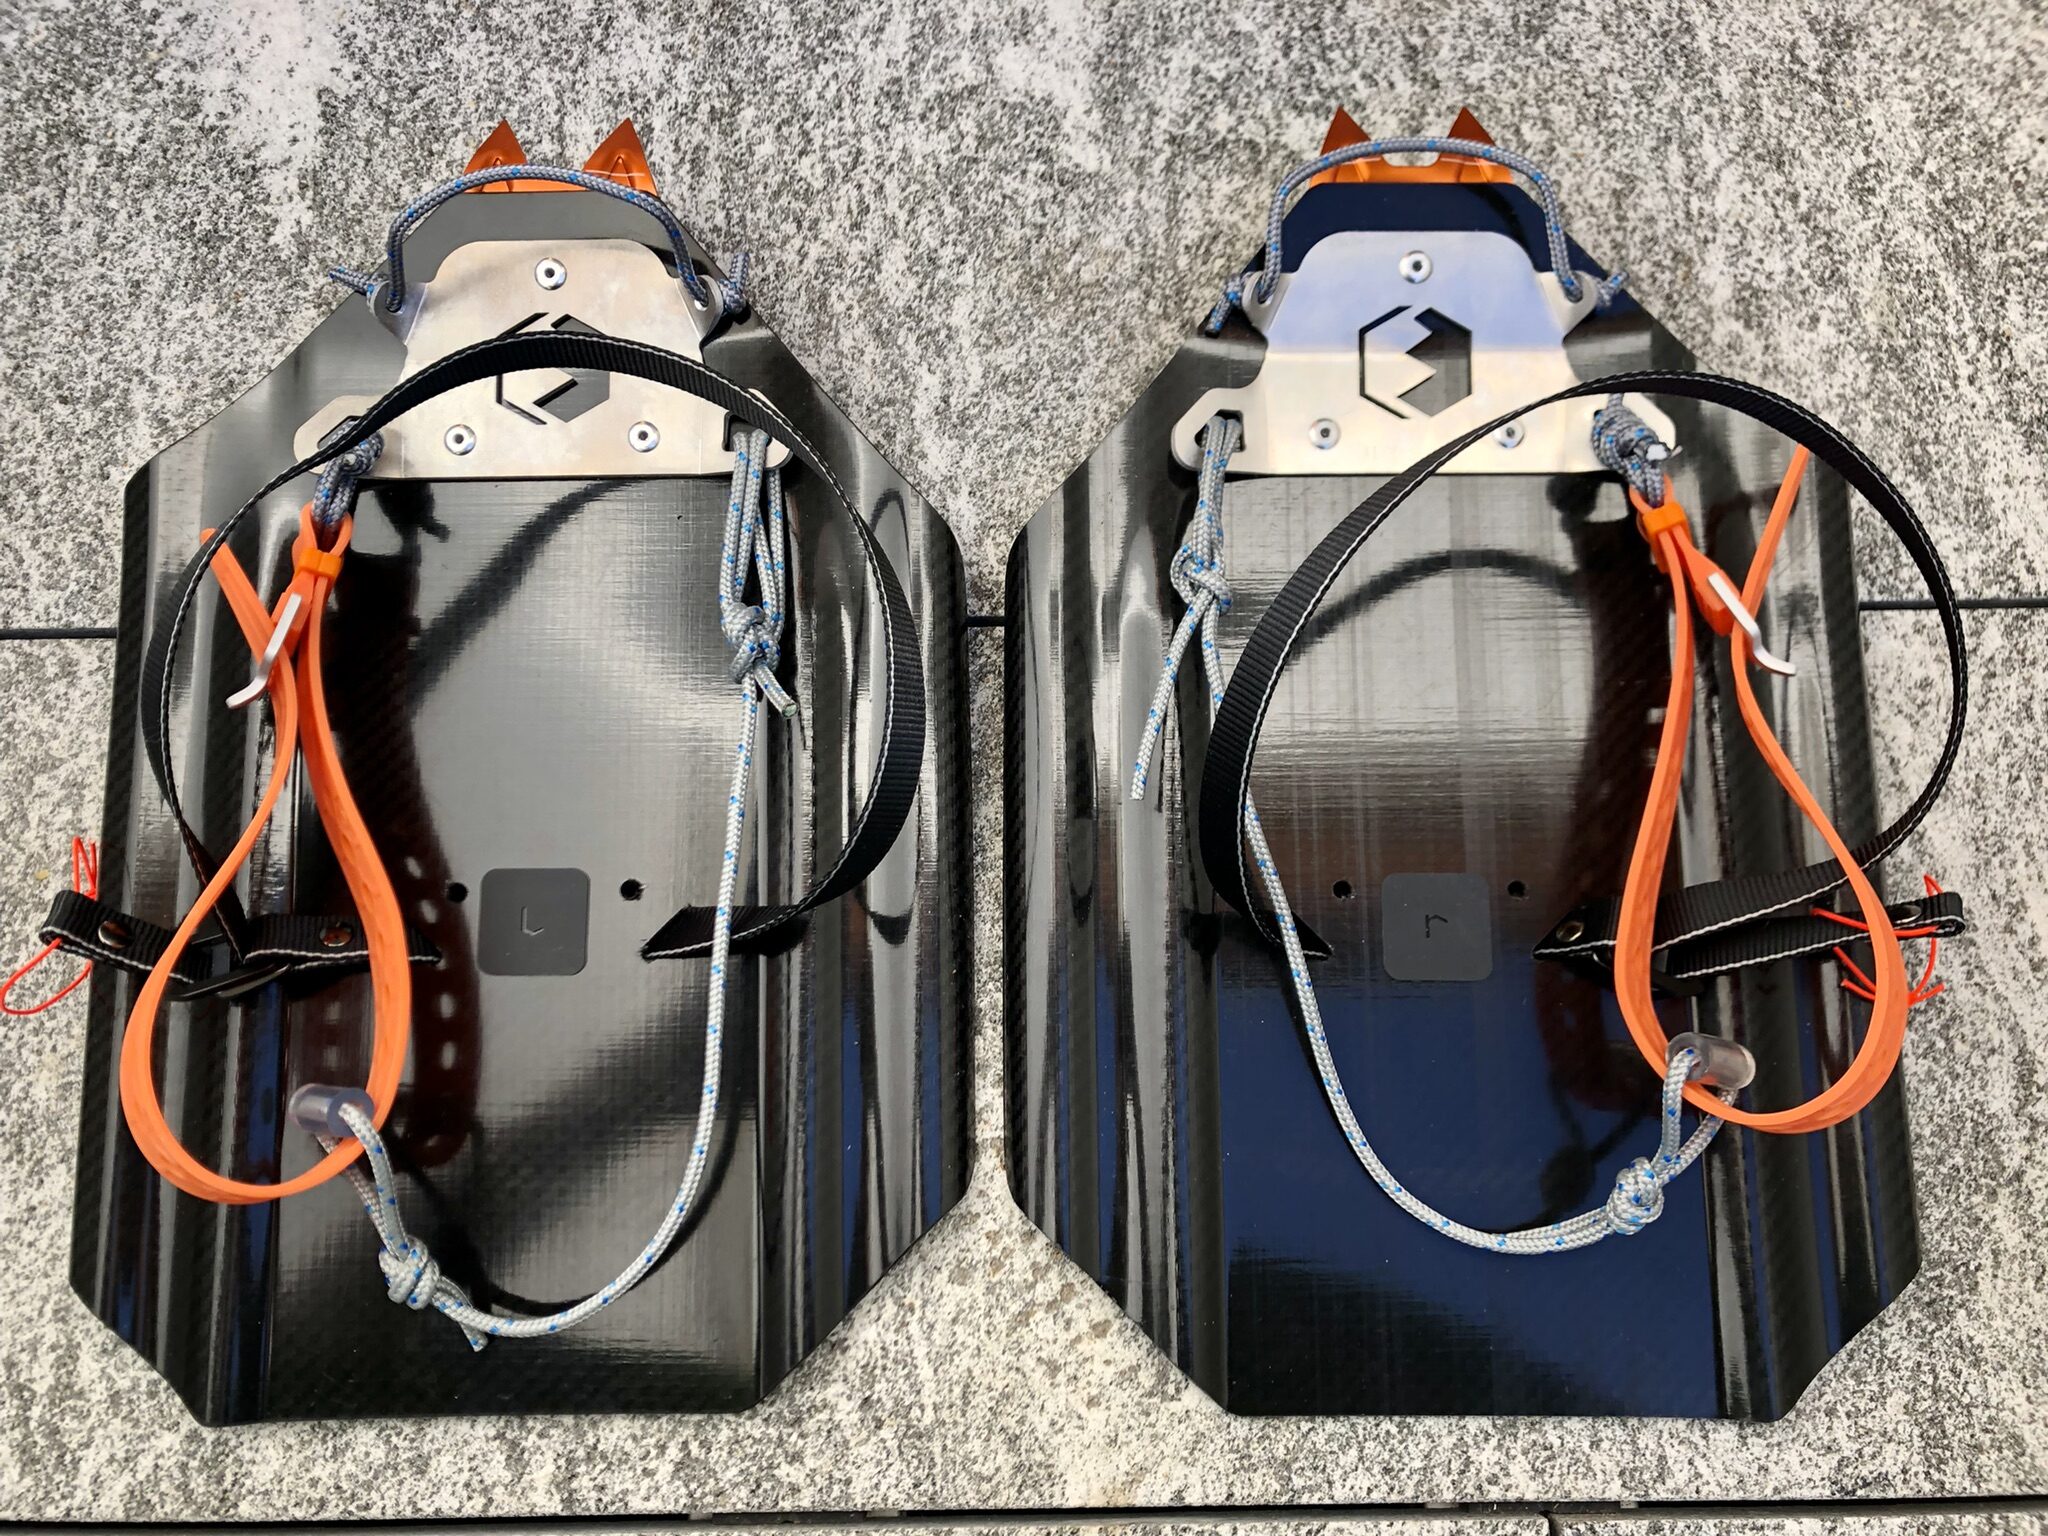
2. Check the dyneema cord’s lenght
The loop with the tube ‘pulley’ should just make it around your boot’s heel.
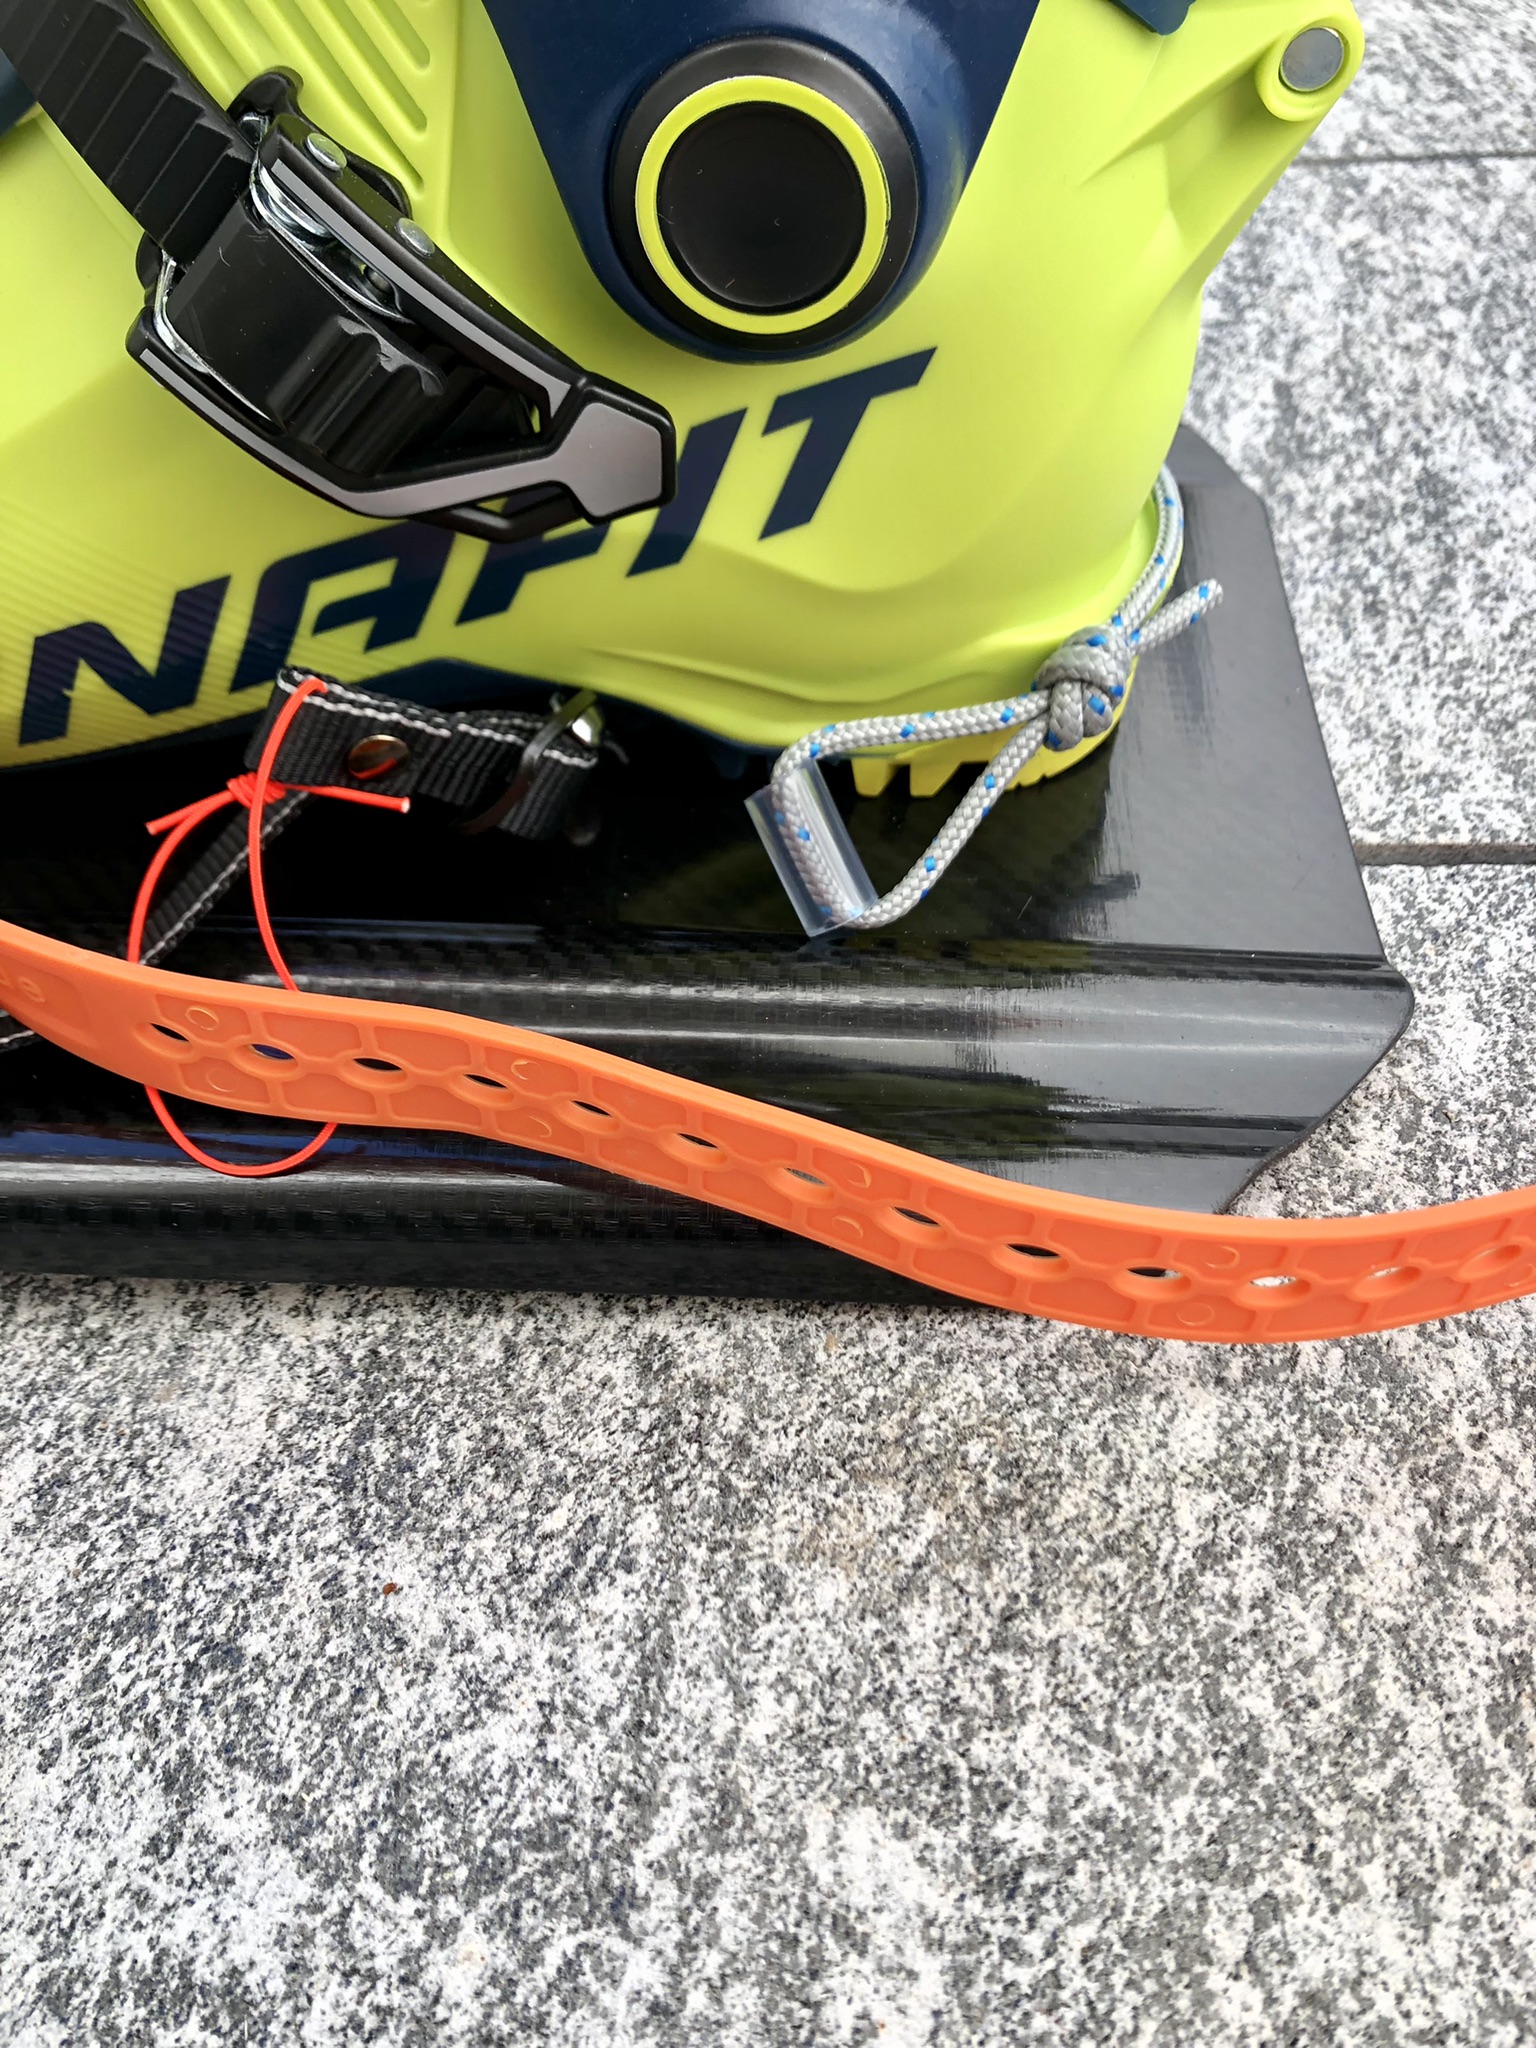
If the ‘pulley’ is too close to the ski strap’s buckle, shorten the cord with a single or multiple knot.
If too short, extend the cord by adjusting the Palstek knot.
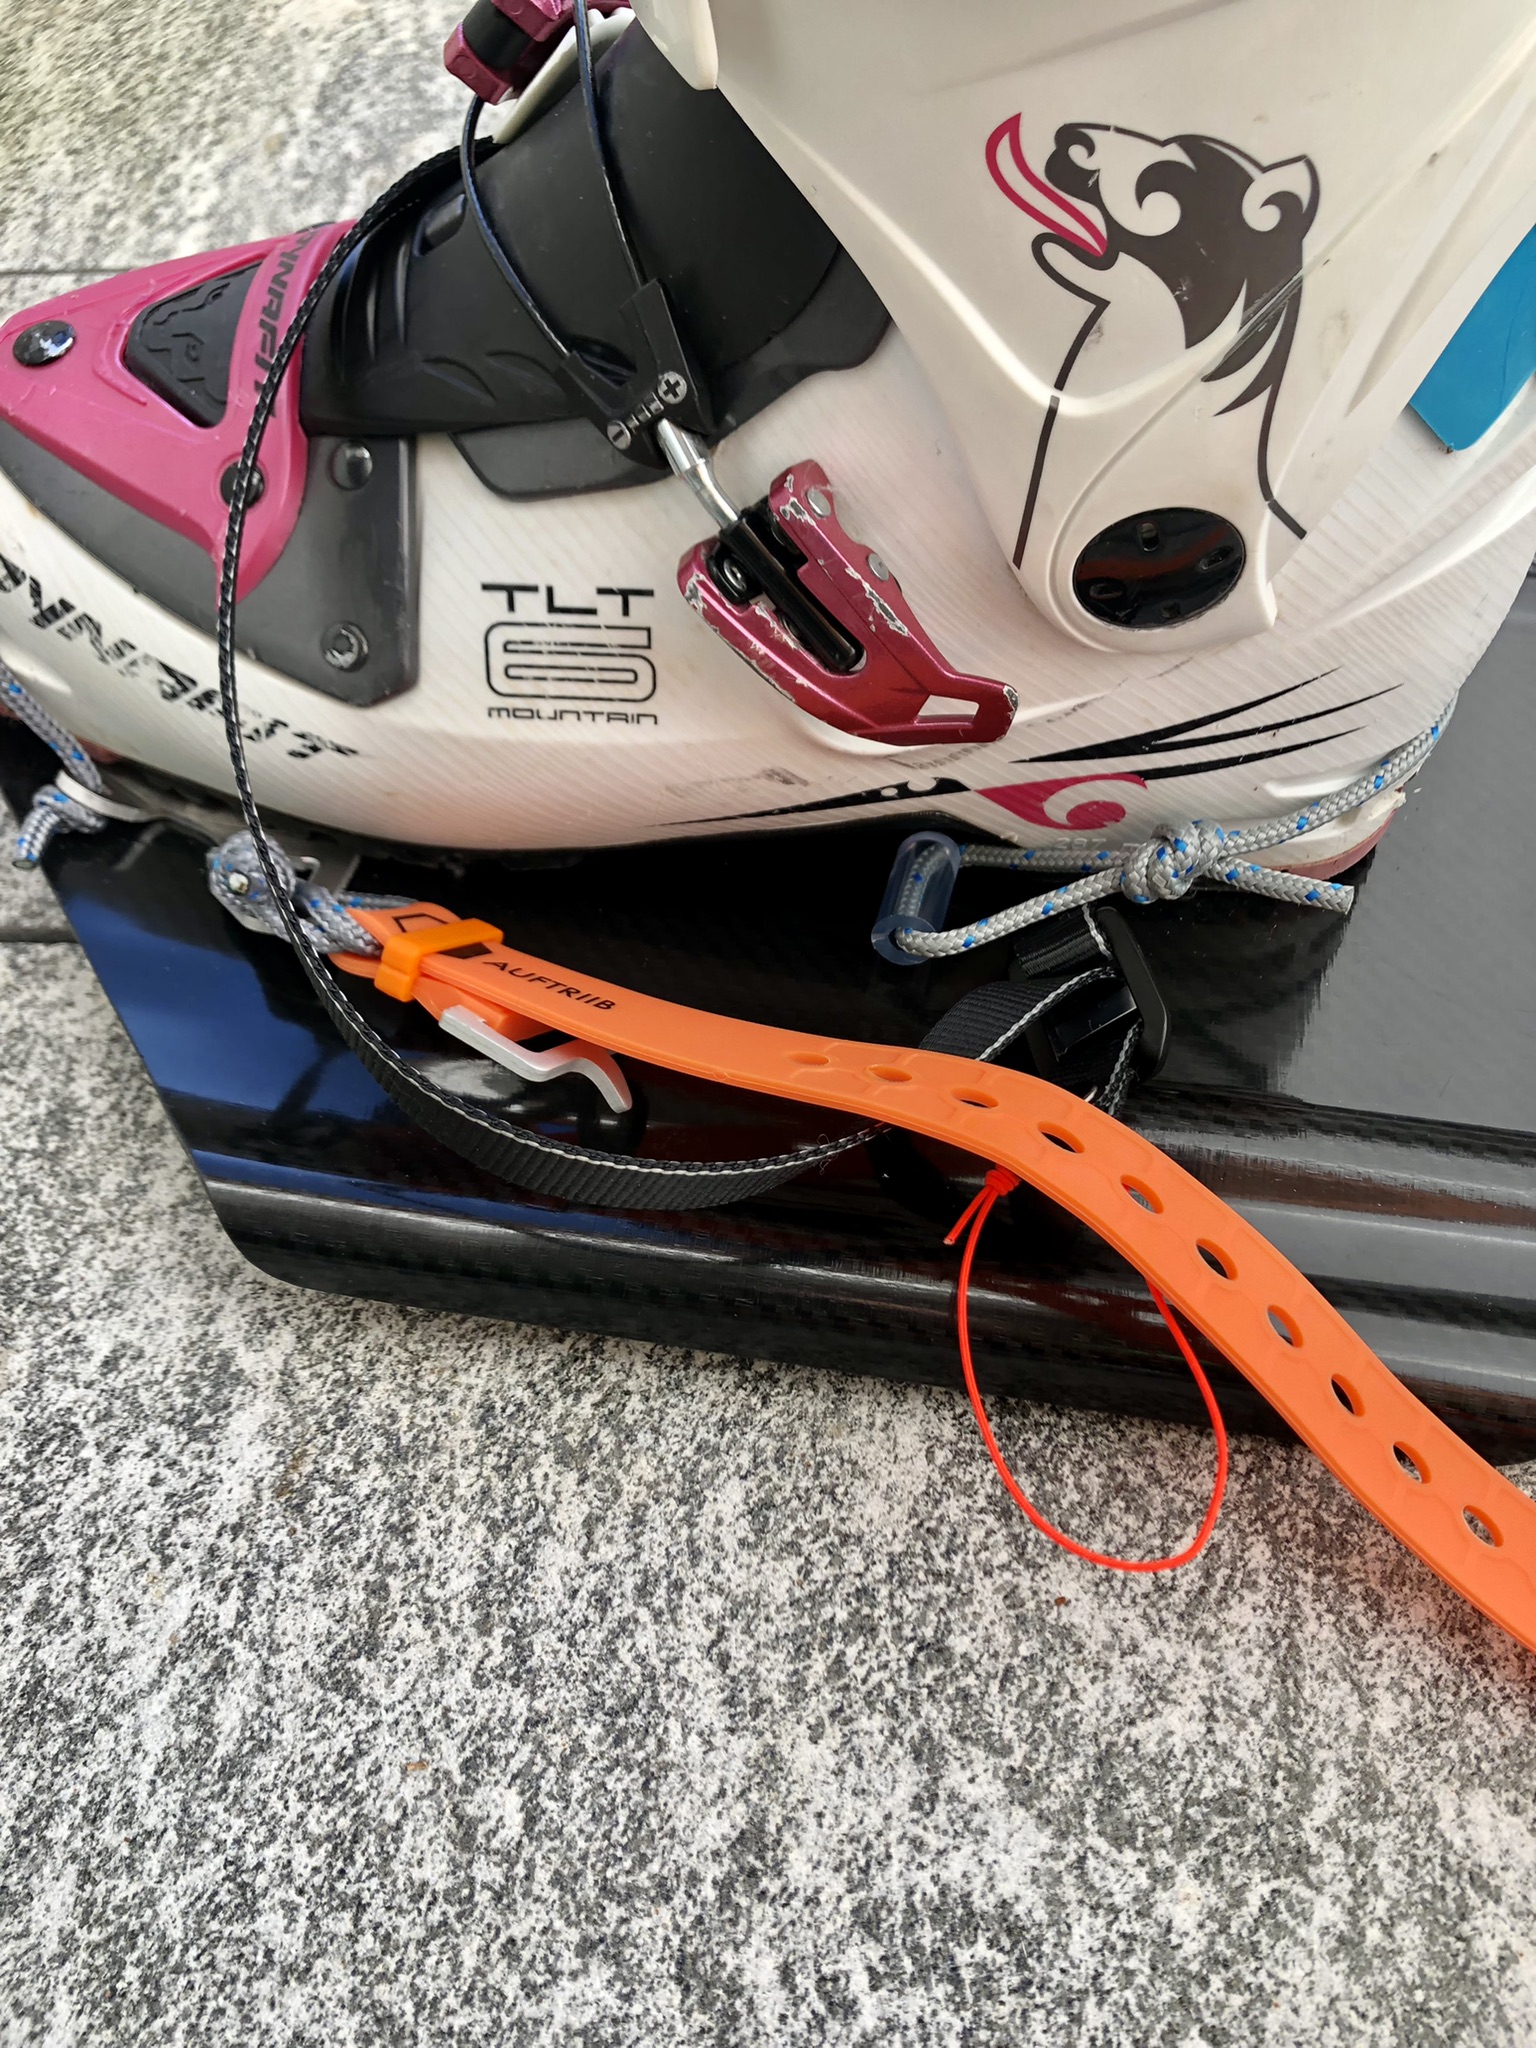
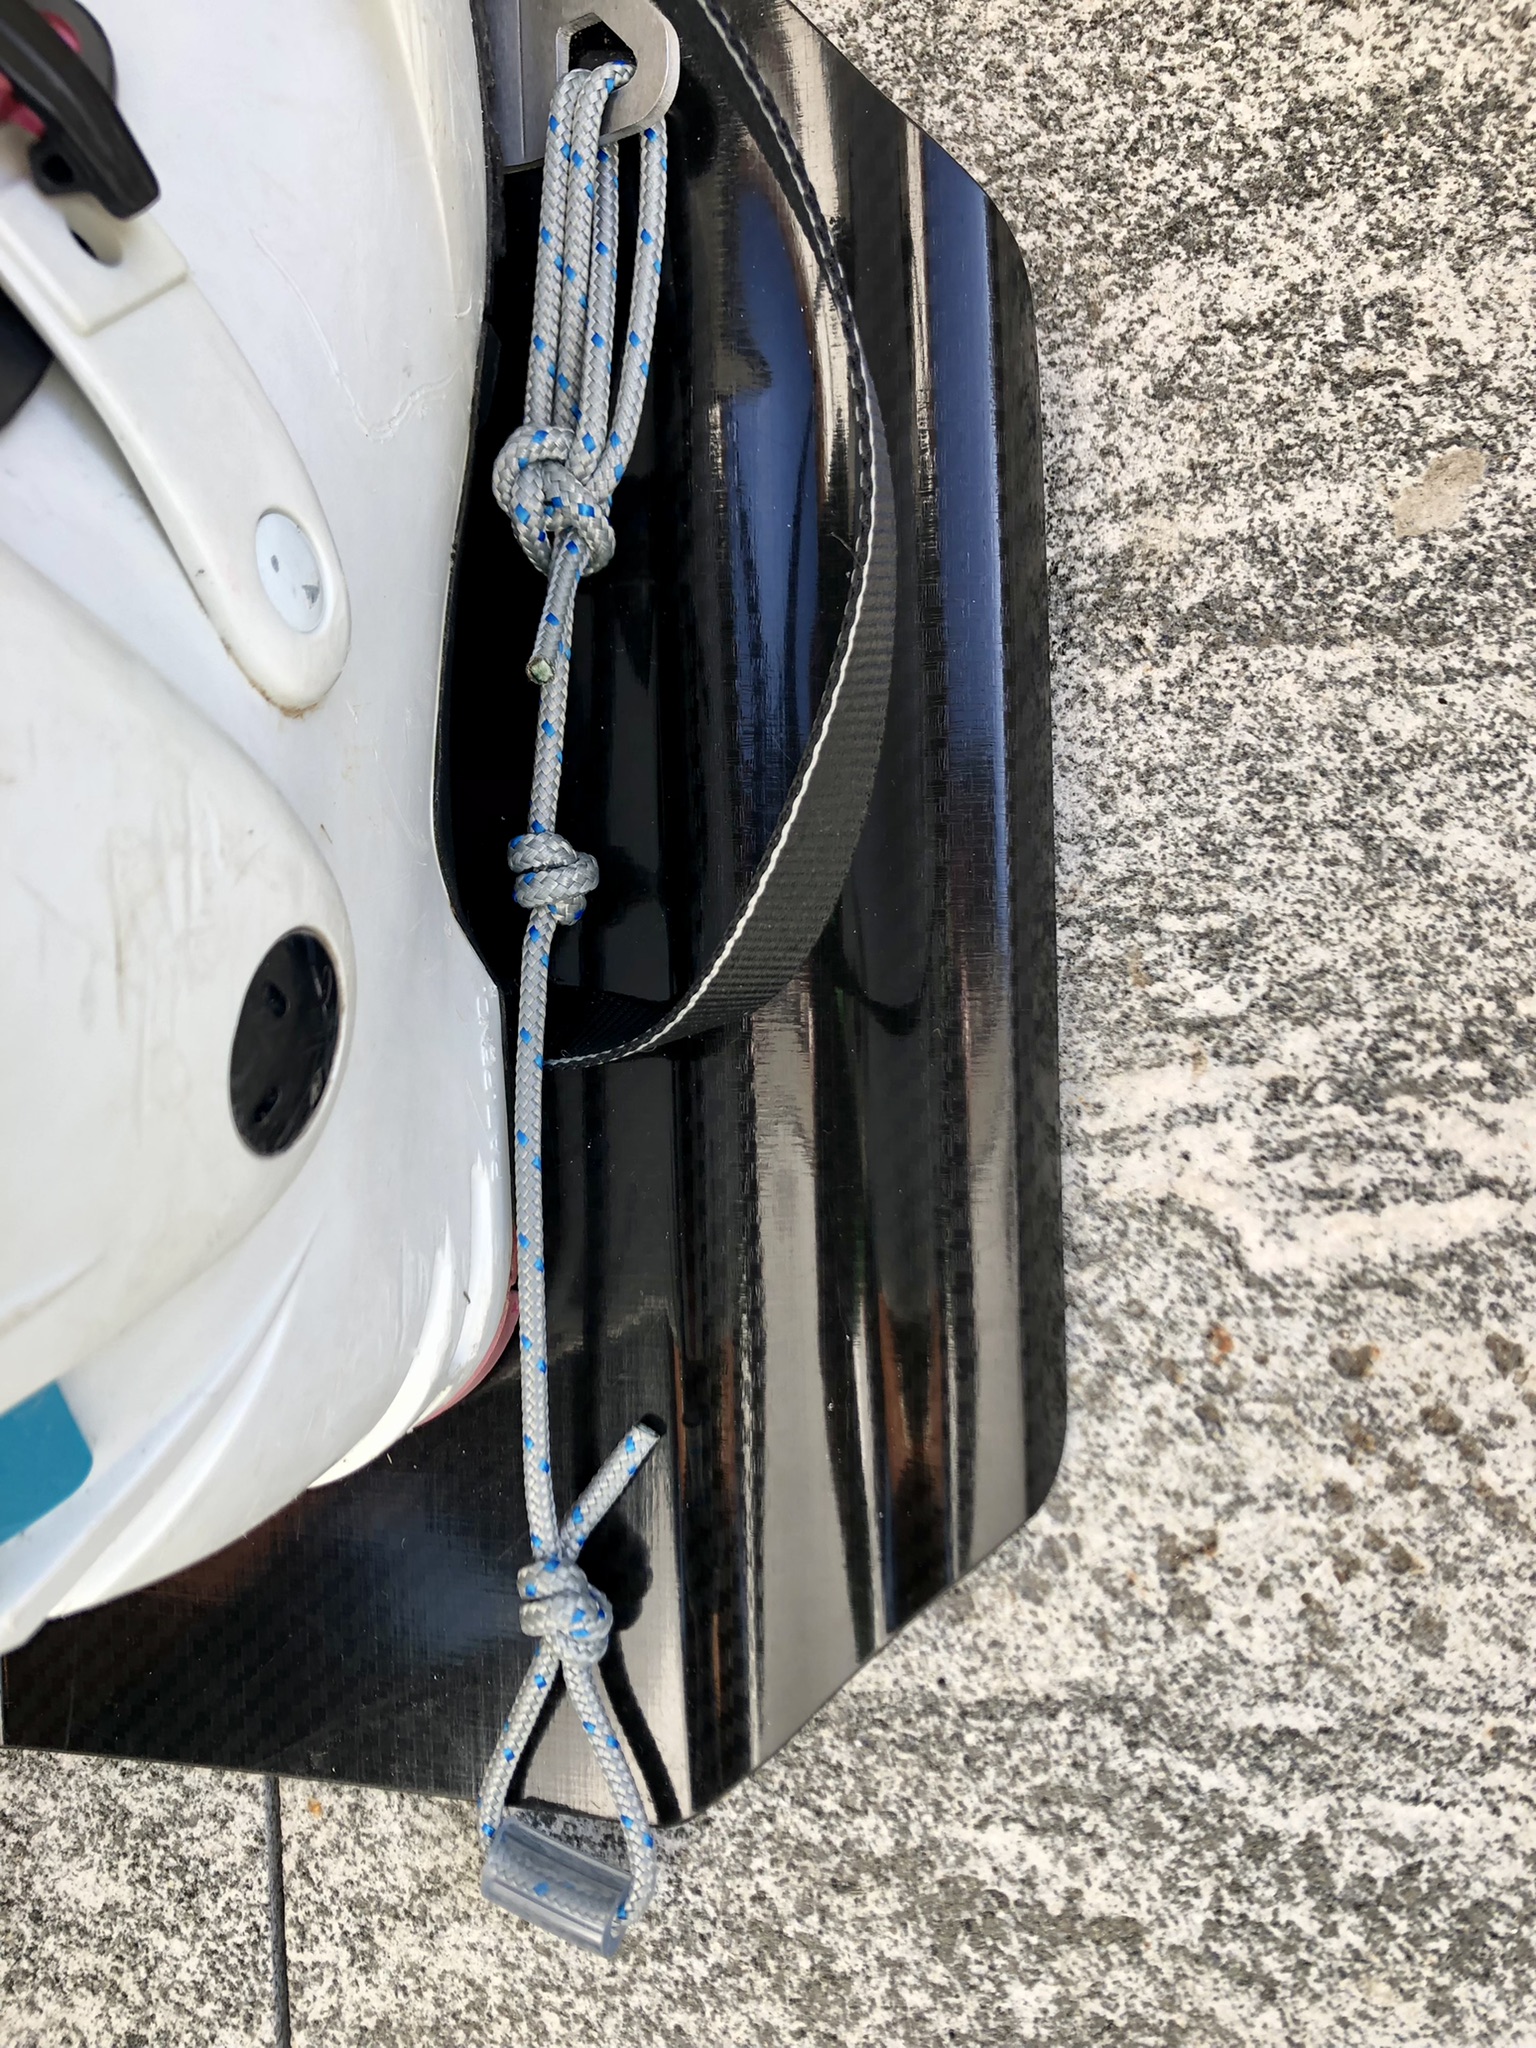
3. Thread the ski strap through the ‘pulley’ and pull forward
Make sure your boot can slide forwards and put the toe bridge under tension.
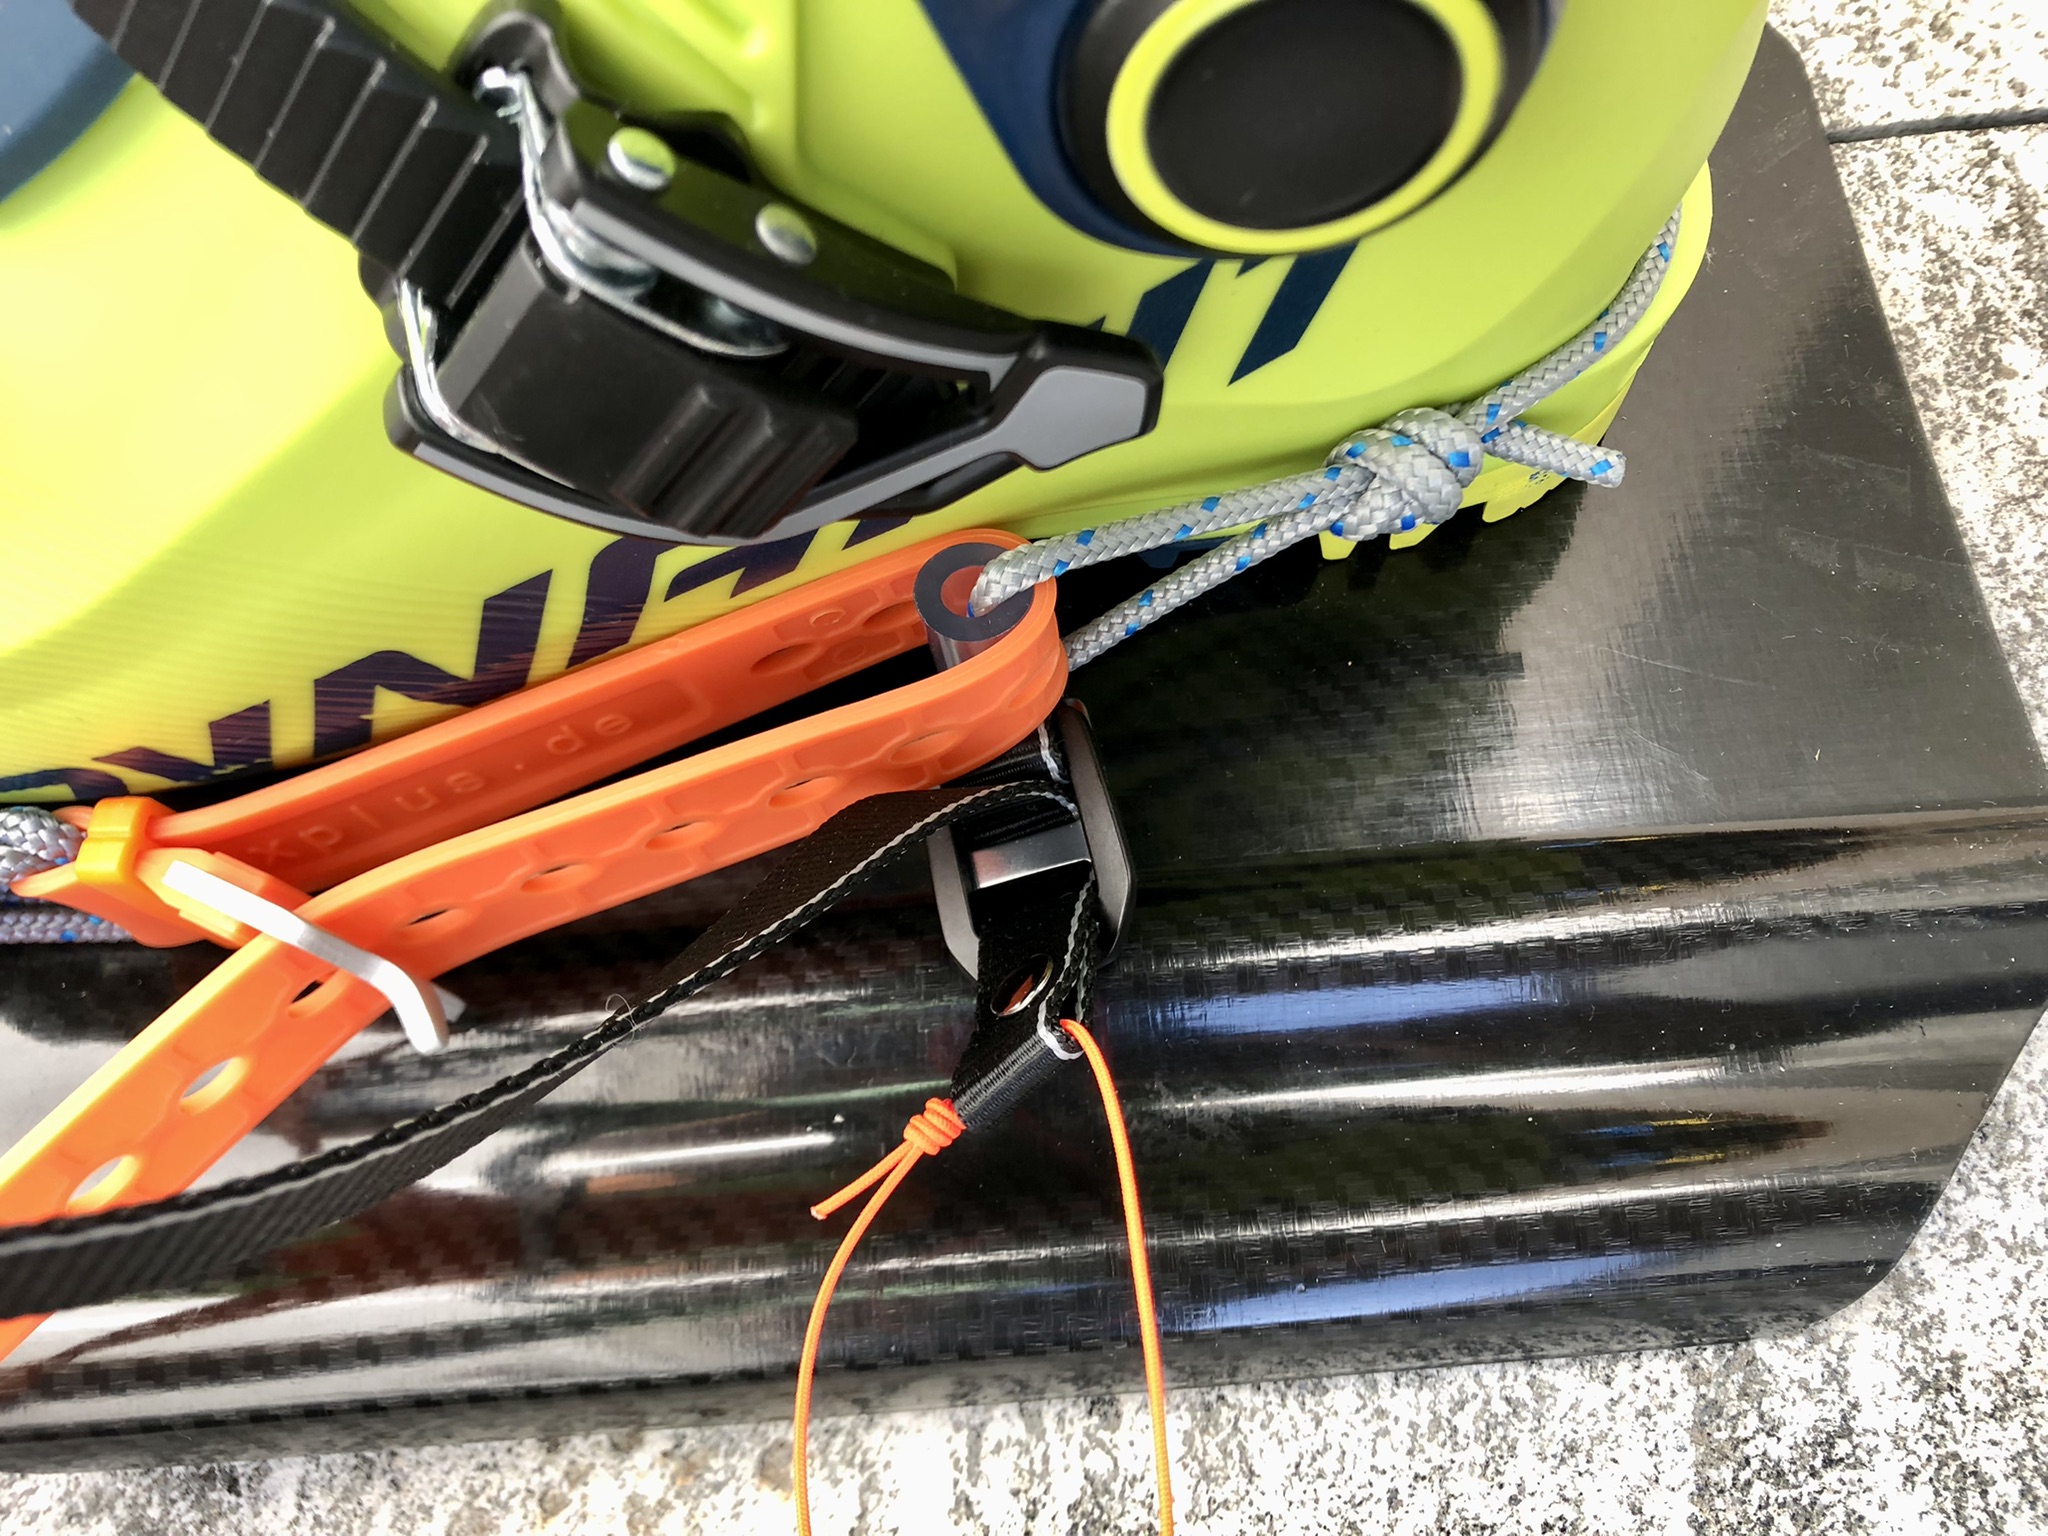
4. First pull forward and then back to close the buckle
These straps have a tensile strength of over 1150N / 110kg.
So, pull hard but don’t rip it apart if you are super strong.
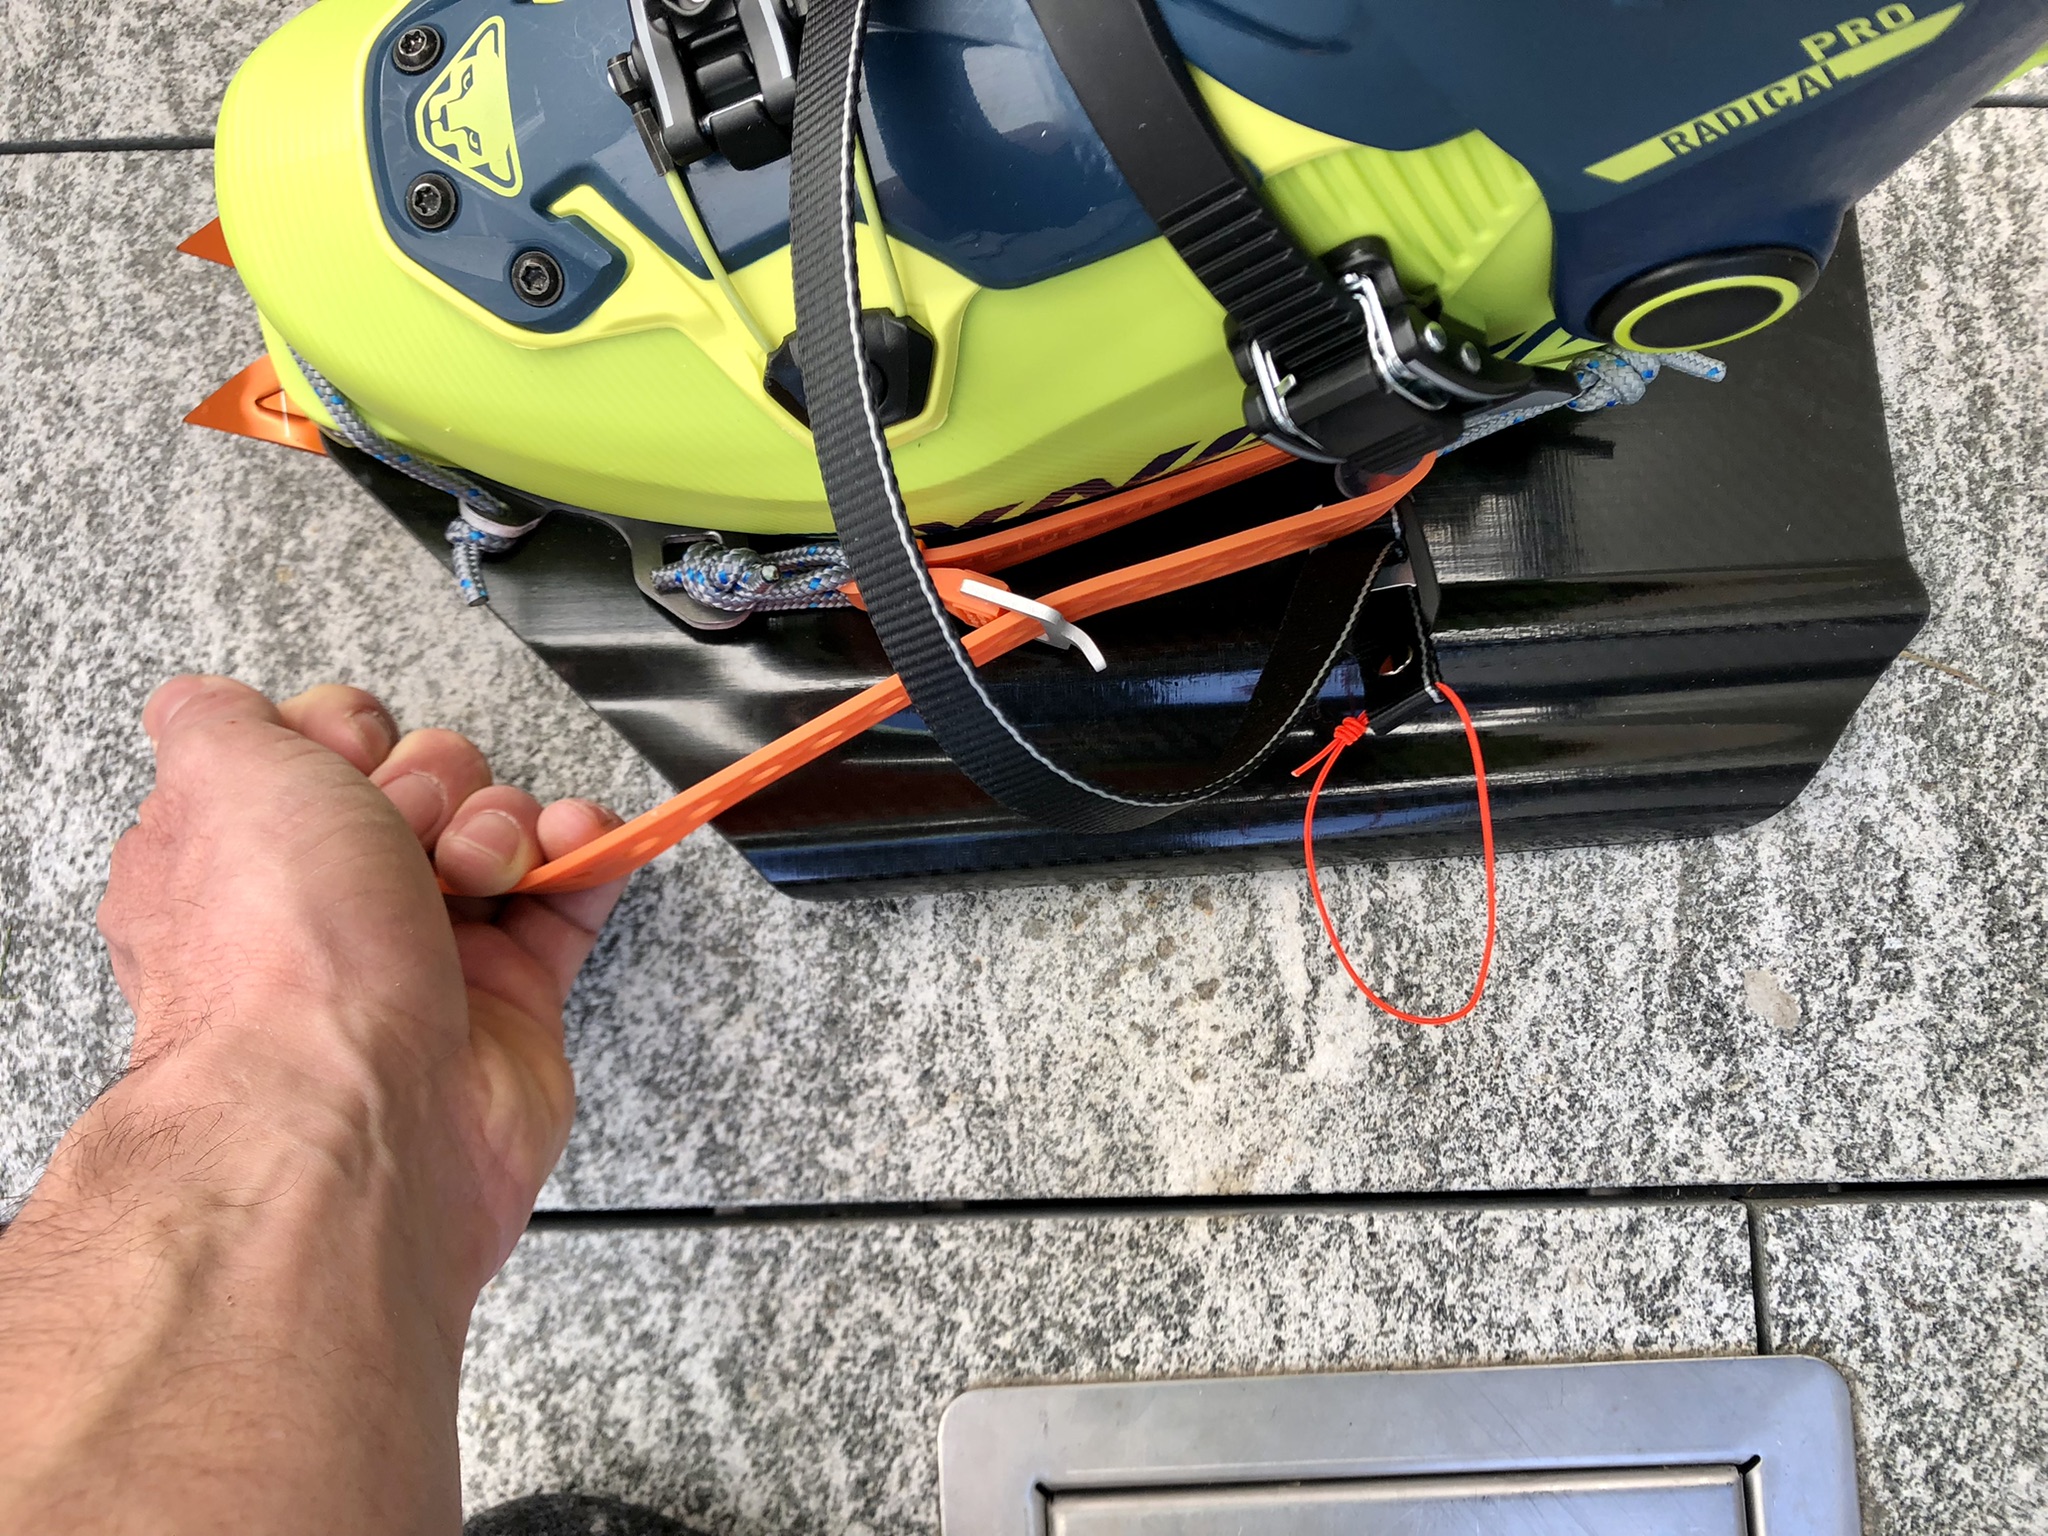
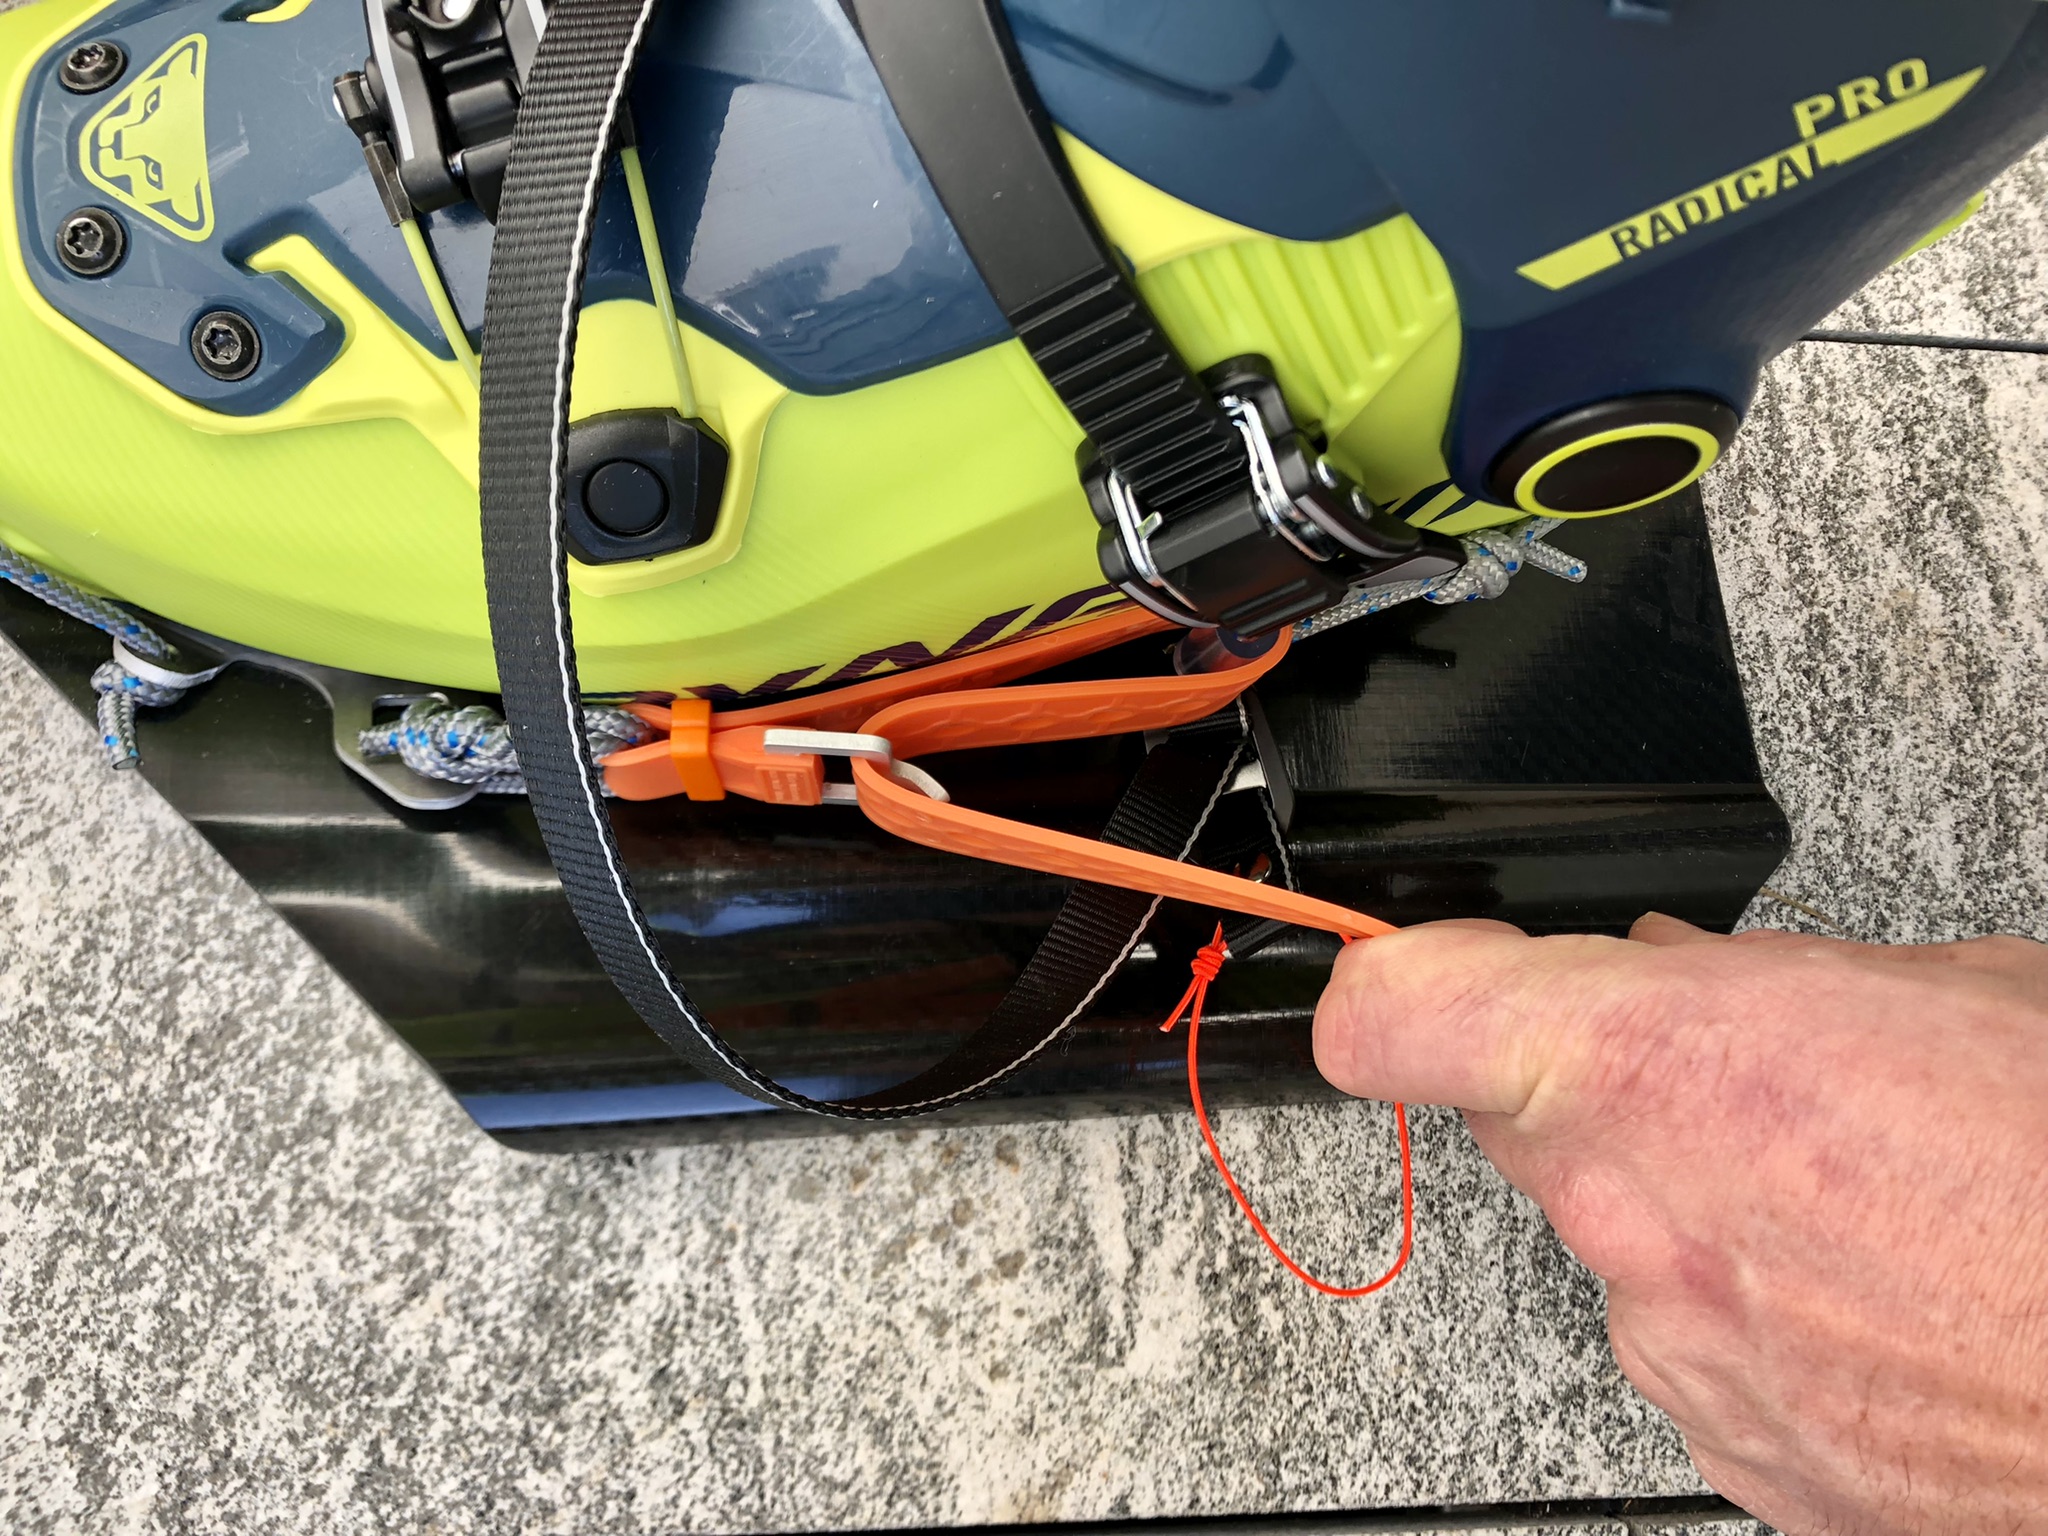
5. ‘Store’ the strap’s free end and tighten the lateral webbing strap
Pull the webbing strap tight.
Then store its free end’s orange loop in a way that prevents it from getting caught anywhere (for example under a ski boot buckle).
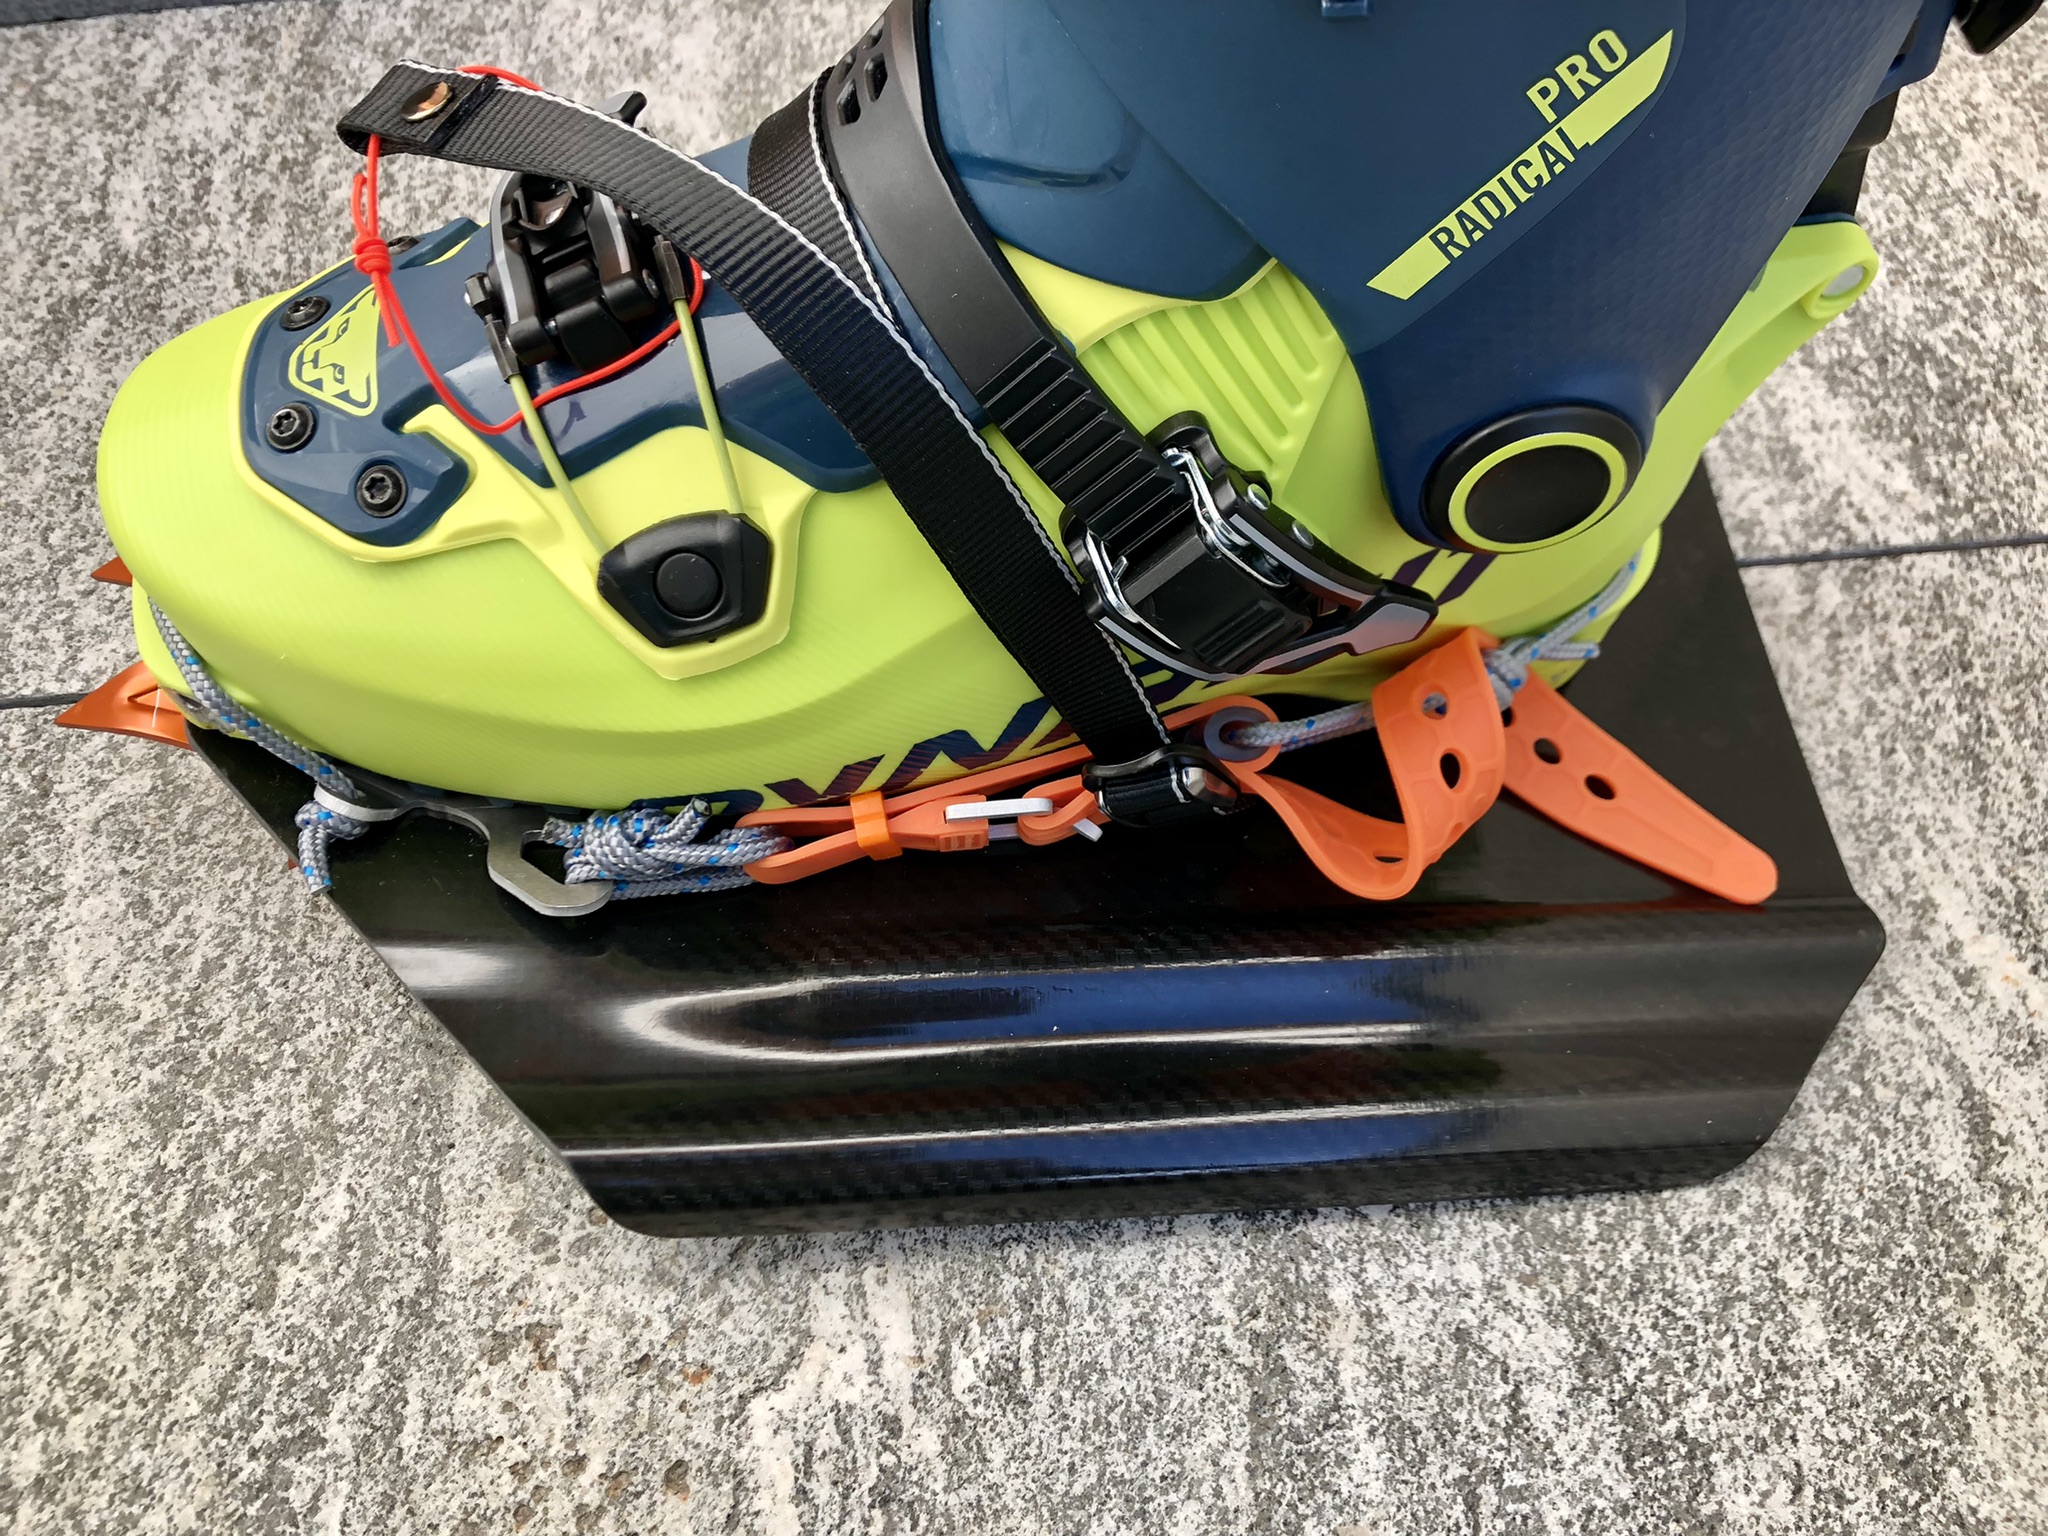
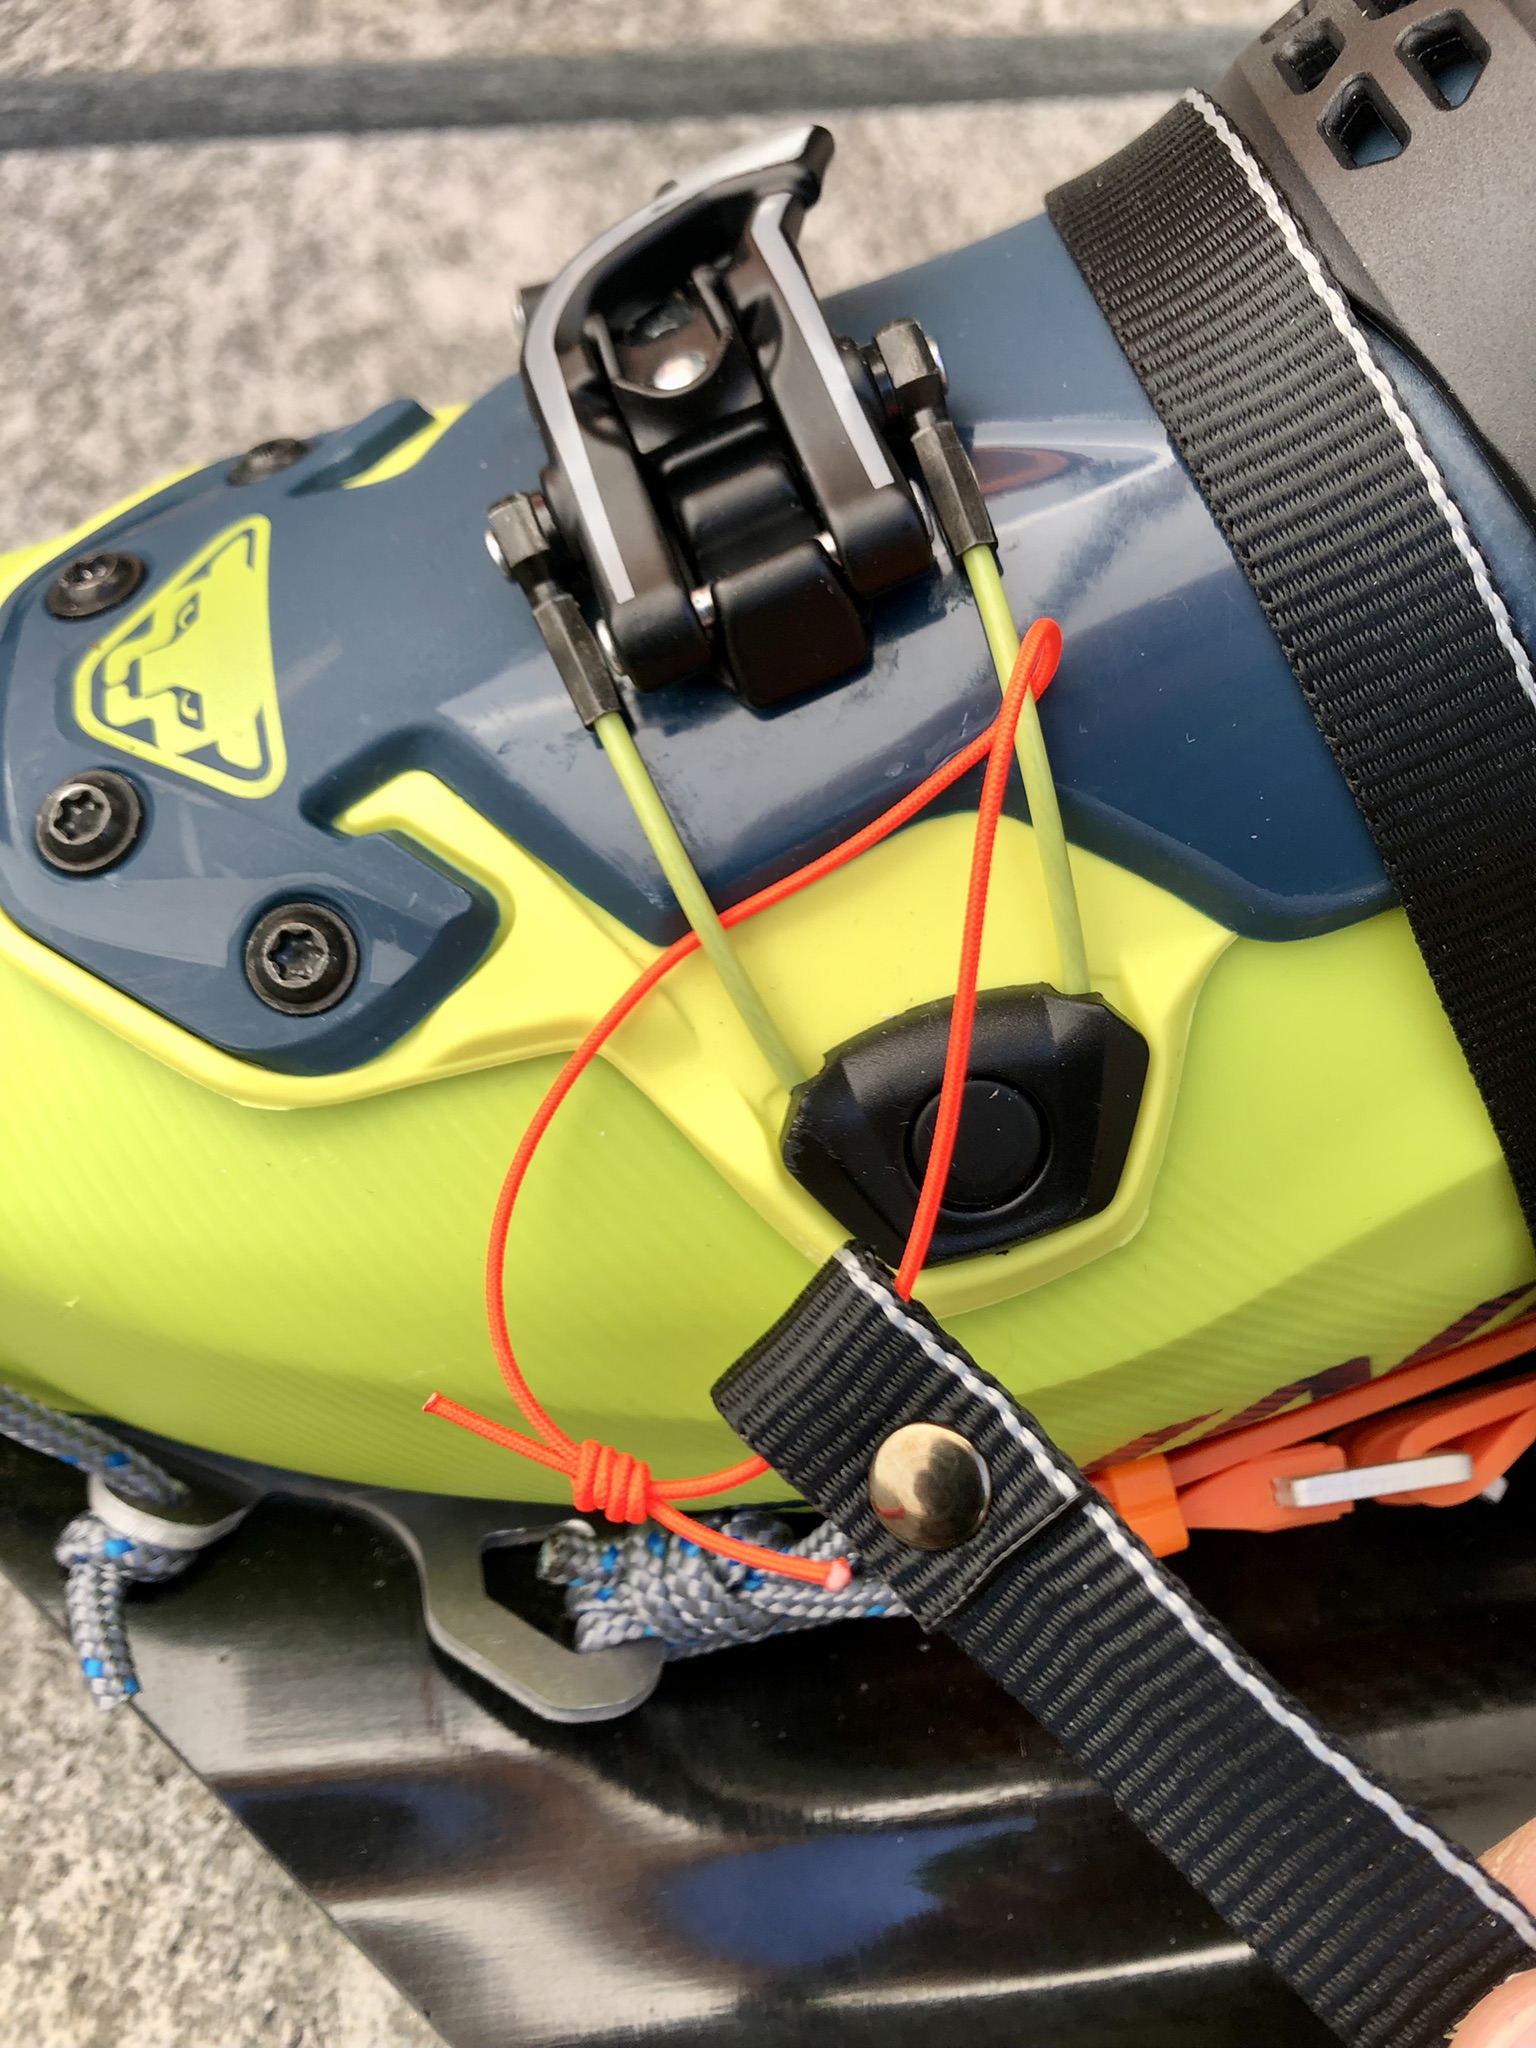
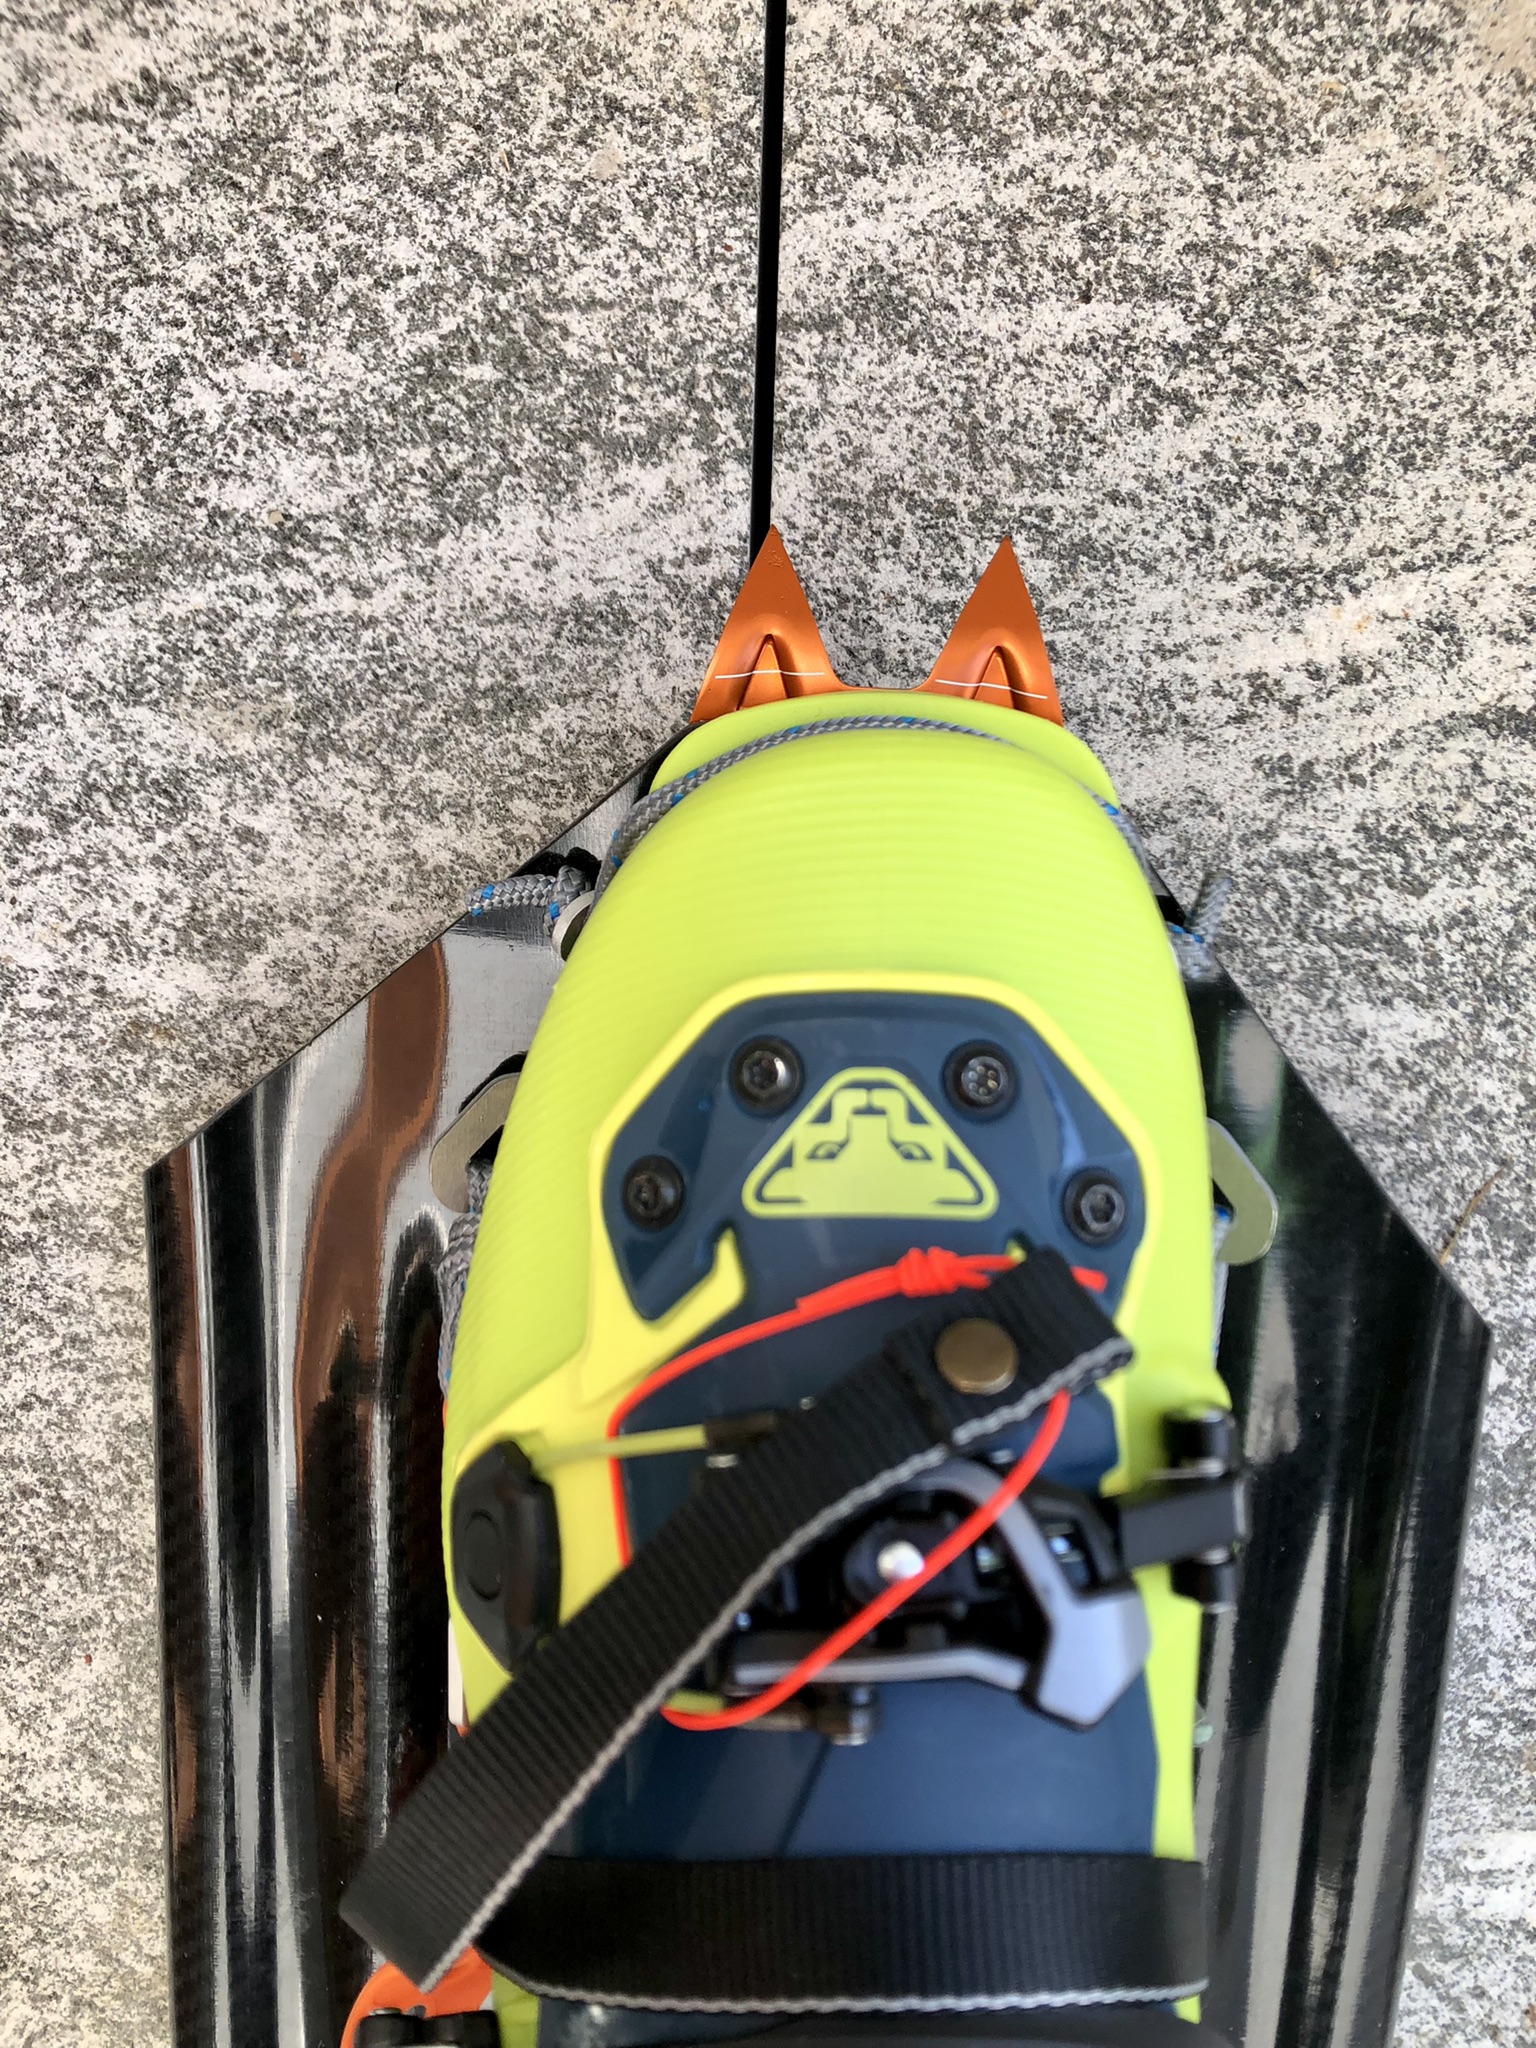
6. Check your boots’ frontal position and adjust toe ‘bridge’ if needed
Once the strap binding is closed tightly, check if your boot’s most frontal point is in a position as in the image below (just around the indicated line on the crampon).
If needed, adjust the toe ‘bridge’ cord’s length by retieing one of the knots.
7. Check all safety critical components before each use
– Dyneema cord toe ‘bridge’ (especially the hidden parts!)
– Rivets joining the crampon, the plate and the binding plate
– Short Dyneema cord for the ski strap attachment
– Ski strap
– Long Dyneema cord
– Webbing strap, including its buckle’s rivets
